I'm an avid gardener in Colorado Springs, Colorado, elevation 7100ft (2164m). Follow along as I learn how to garden in this steppe climate and turn my almost blank canvas yard of mulch, rocks and turf into a garden.
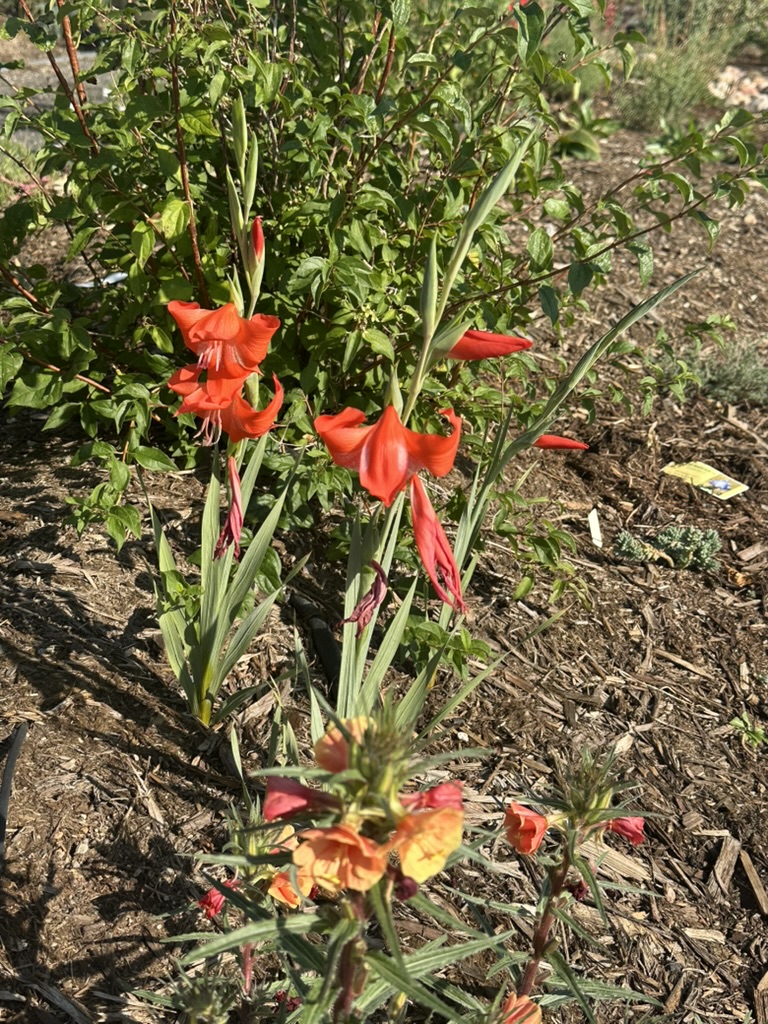
Gladiolus saundersii blooming in the garden. These blooms are a pleasant surprise. – last year I managed to germinate a few seeds I got from the NARGS Seed Exchange. They came up with one cute little strappy leaf each. After a month in 2.5 inch pots, I put them in the ground in late June. The foliage promptly died and I thought they hadn’t survived the transplant. They were near a Cheyenne Mock Orange that got some winter water. Late this spring I noticed gladiolus leaves poking up and realized all the corms had survived the winter. I suppose they were putting down roots or just biding their time, but now all three are blooming and one has a new little offset. I hope they will return next year.
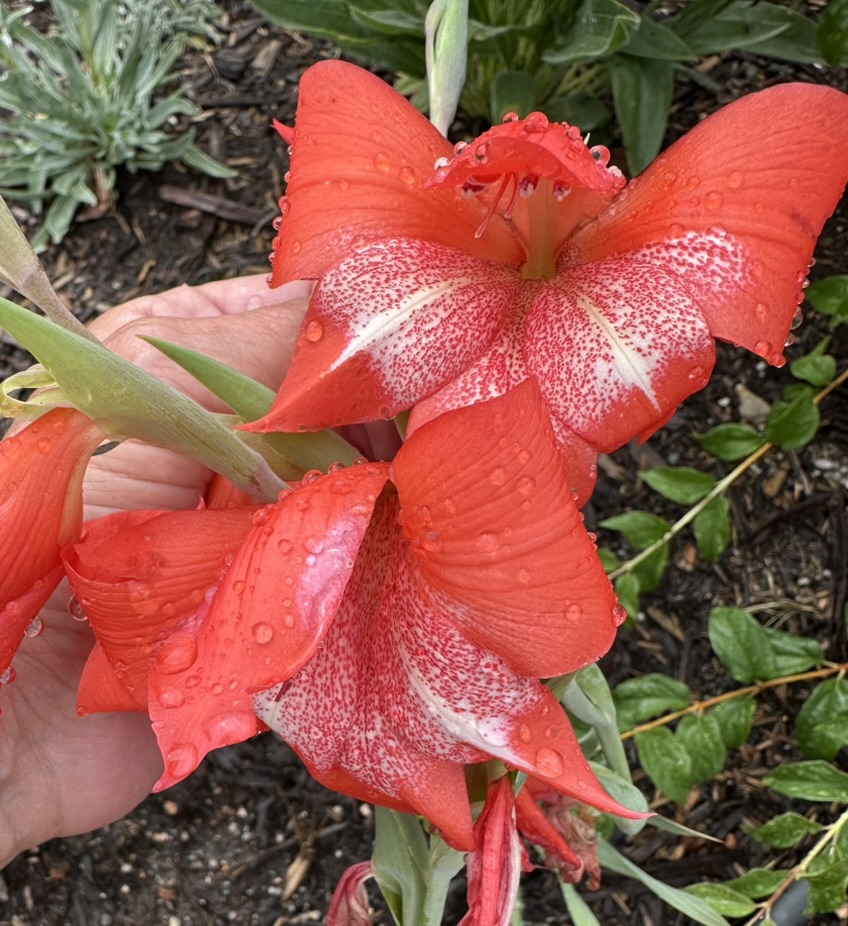
Gladiolus saundersii is from the Drakensburg area of South Africa and is classified as hardy to U.S. Zone 5. The coldest overnight temperature we saw last winter was -14F/-25.5C Here’s the Pacific Bulb Society writeup: https://www.pacificbulbsociety.org/pbswiki/index.php/Gladiolus_saundersii #nargsrocks
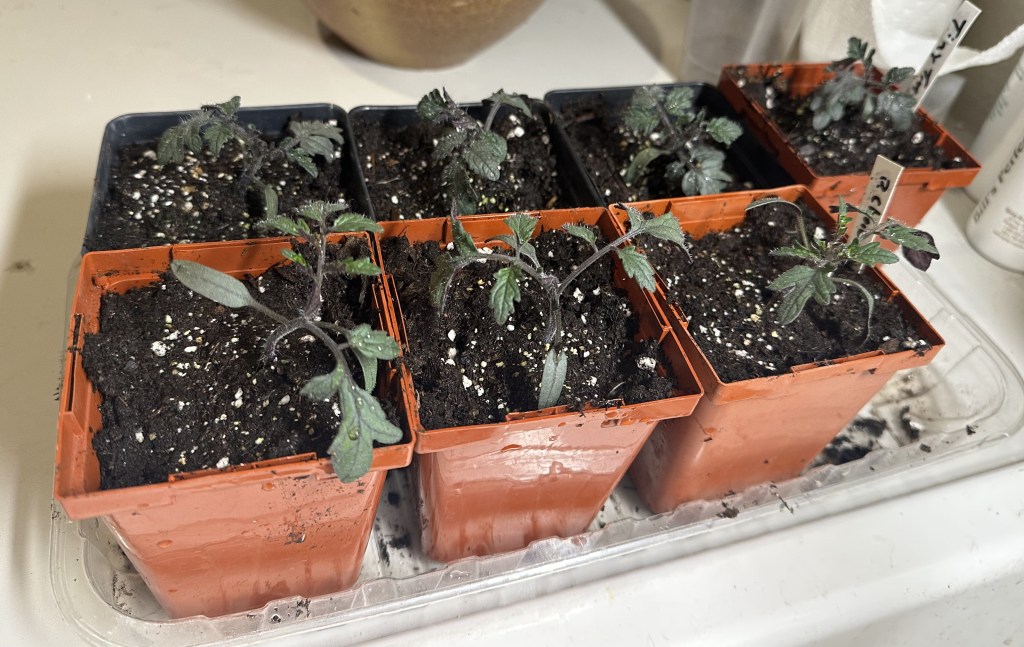
Seedlings newly up-potted into 4 inch pots on November 27, 2024.
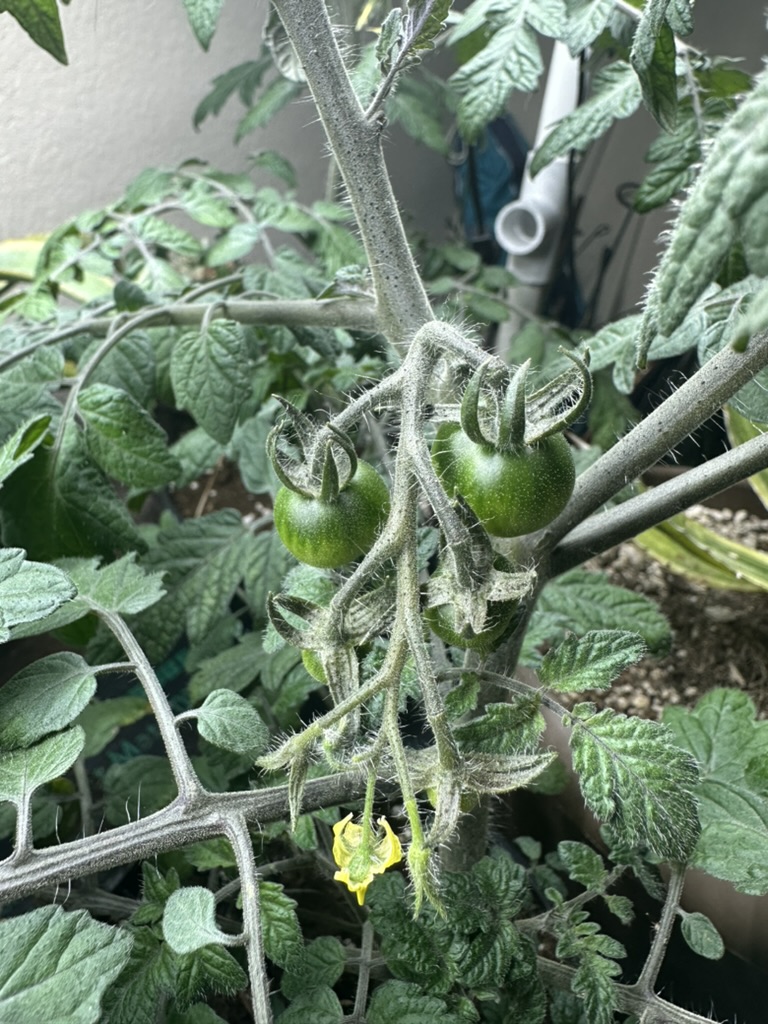
With the advent of micro tomatoes, I decided to see if I could successfully grow some under lights in my basement. I set up two high output LED light strips from Gardener’s Supply My great DIY husband made supports from PVC pipe and I got Vivosun adjustable hangers. I selected two tomatoes: micro Tiny Tim and “compact” Patio Choice Yellow for my first attempt. Seeds were sown in Fertilome Seed Starting Mix (peat based) on November 9 and they were placed under the lights on a seed heat mat. Germination was good and I up-potted into 4 inch pots on November 27. Also sprayed the plants with an organic spray to prevent pests.
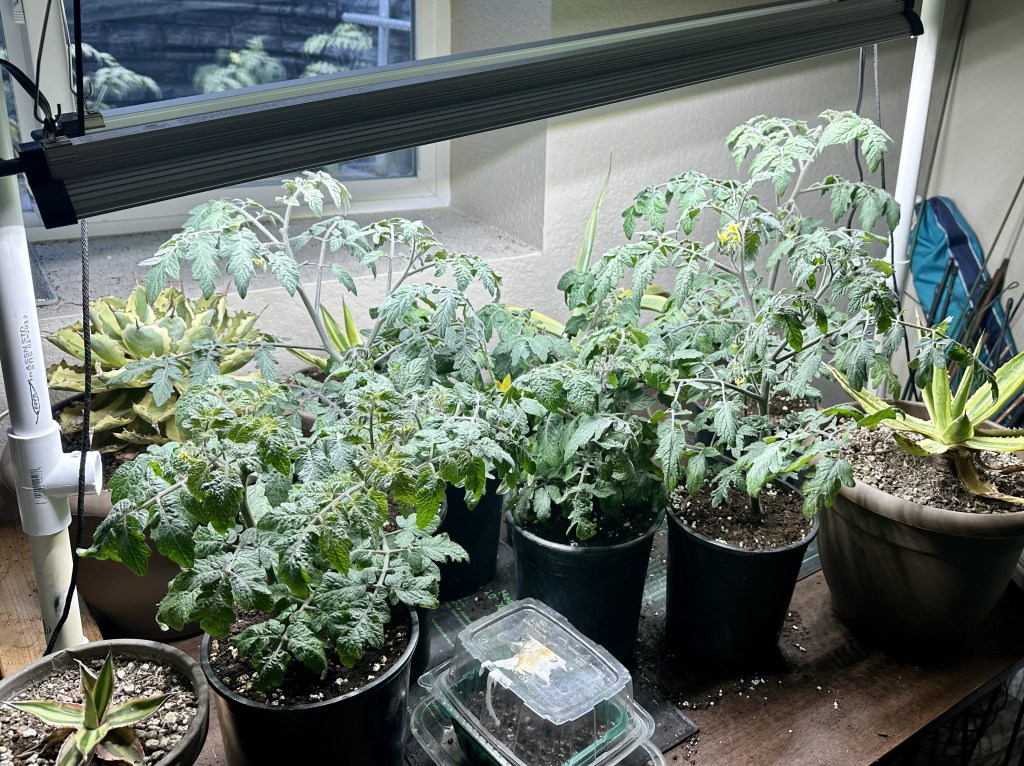
The Grow Light Setup.
Yes the tomatoes are sharing space with my wintering tender agave collection and germinating cat grass. Notice they are also getting some supplemental natural light from the window in the background. Heat mats are plugged in since the basement cools off into the 60’s at night.
Fruit on January 10, 2025 – Patio Choice Yellow (l) and Tiny Tim (r)
The plants grew well and I moved them to gallon pots over Decmber 24-27, resprayed for pests and raised the lights. The plants started blooming almost immediately and as of January 10, there is small fruit on both Tiny Tim and Patio Choice Yellow.
I am feeding weekly with Age Old Fish and Seaweed fertilizer. I put out a sticky trap to monitor for insects and have seen only fungus gnats. There is some leaf yellowing off and on. Not sure if it is disease or just lower leaves not getting enough light. When I see yellowing foliage I remove it.
Today, February 12 , I picked two almost ripe Patio Choice Yellow tomatoes. There is excellent fruit set on both tomato varieties. One mistake I made is choosing varieties with different heights. I’ve adjusted the grow lights at an angle to keep them around 4″ above the top of the plants. I’ve also topped the Patio Choice Yellows. There is very minimal leaf yellowing at this point as well.
The timeline:
Seed sown November 9
Moved to 4 inch pots November 27
Moved to gallon pots December 24-27
First fruit picked February 12.
So 74 days from sowing to first ripe fruit.
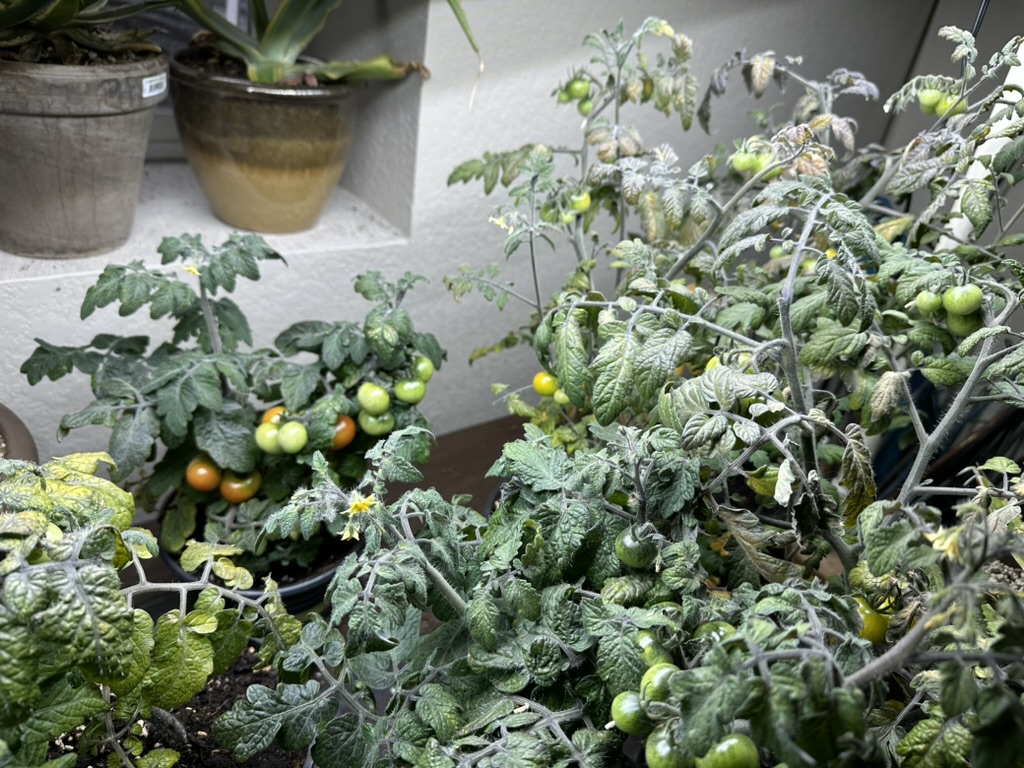
Fruit in various stages on February 19, 2025. Note the diseased foliage on the Patio Choice Yellow in the back. This variety had a lot of yellowing/brown leaves – that one plant was so diseased I removed it on February 24. Tiny Tim’s foliage has remained healthy except for some lower leaves which I think were not getting light. The yellowing on the Tiny Tim far left I think is scalding from being too close to the lights. I have since raised them around 2 inches.
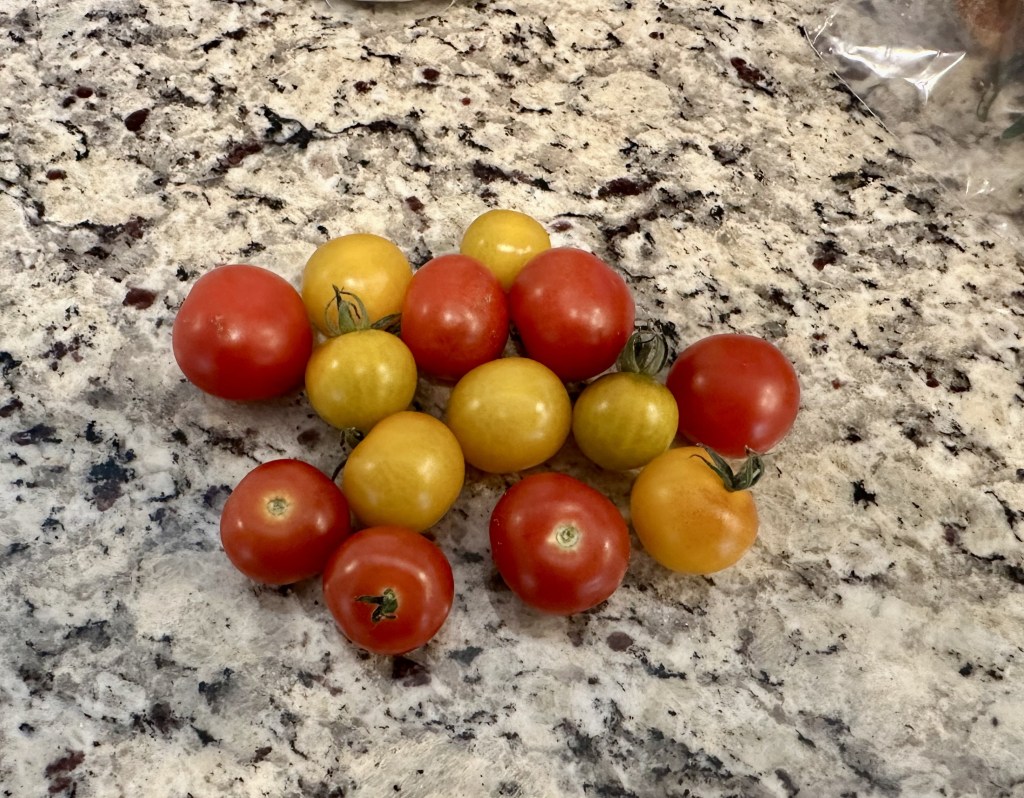
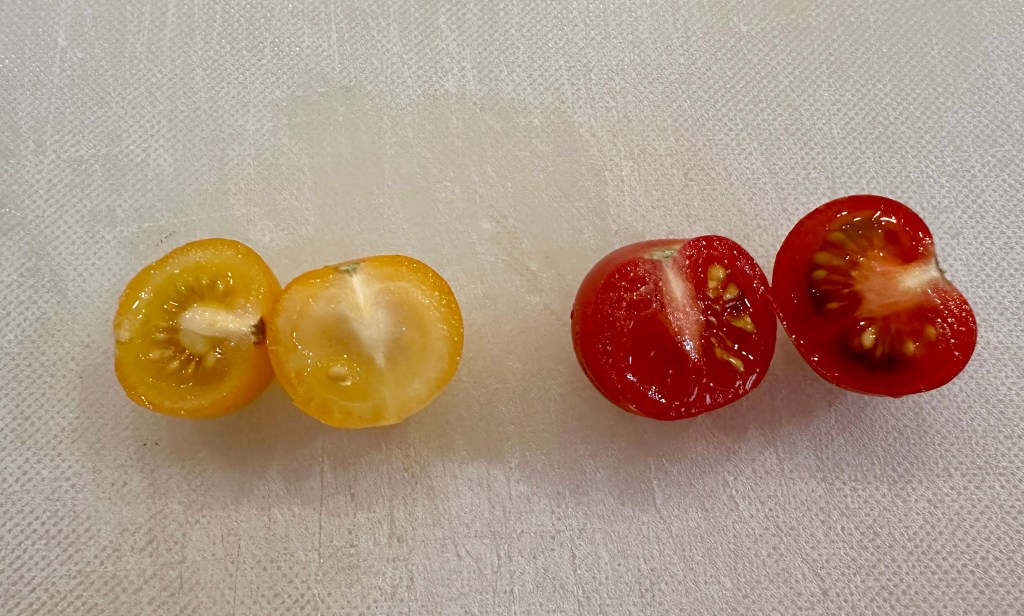
Some of the fruits collected over a few days. I tasted one of each when ripe – one half without salt and one with (thank you Lena Halberstadt for that tasting tip). Patio choice yellow was sweeter but still had nice acidity. Tiny Tim was more tart but still had good tomato flavor. The flavor of both tomatoes improved with a little salt, bringing out the sweetness. I was more impressed with these two tomatoes than previous micros I have grown outdoors. Lots of work is being done on micro tomatoes and I look forward to more flavor improvements.
My take aways from my first attempt at growing tomatoes under lights:
The two LED light strips from Gardener’s Supply provided enough light to grow and produce fruit when on 16 hours/off 8 hours.
Heat mats helped keep the temperature up in my cool basement so they stayed on.
I think using fresh potting soil helped prevent leaf disease.
Fertilization with Fish and Seaweed fertilizer proved adequate – maybe add Espoma tomato tone when seedlings to into gallons.
If you are growing more than one variety – choose plants with similar heights.
I will sterilize the gallon pots next time to see if that prevents the leaf disease.
I want to compare flavor when grown outside to under lights so am going to start some of both varieties later this spring. Next up will be a second round of Tiny Tim. Just two plants so I can devote time to outdoor gardening in a month or so.
I was fortunate to be able to attend the NARGS (North American Rock Garden Society) annual plant sale in Denver this year. The variety of plants was amazing and would tempt all gardeners – not just the rock garden specialists. I came home with too many plants of course! Penstemons, an alder leaf mountain mahogany, and three little Bukiniczia cabulica. This charming plant is also known as variegated statice. It hails from Afghanistan and Pakistan.
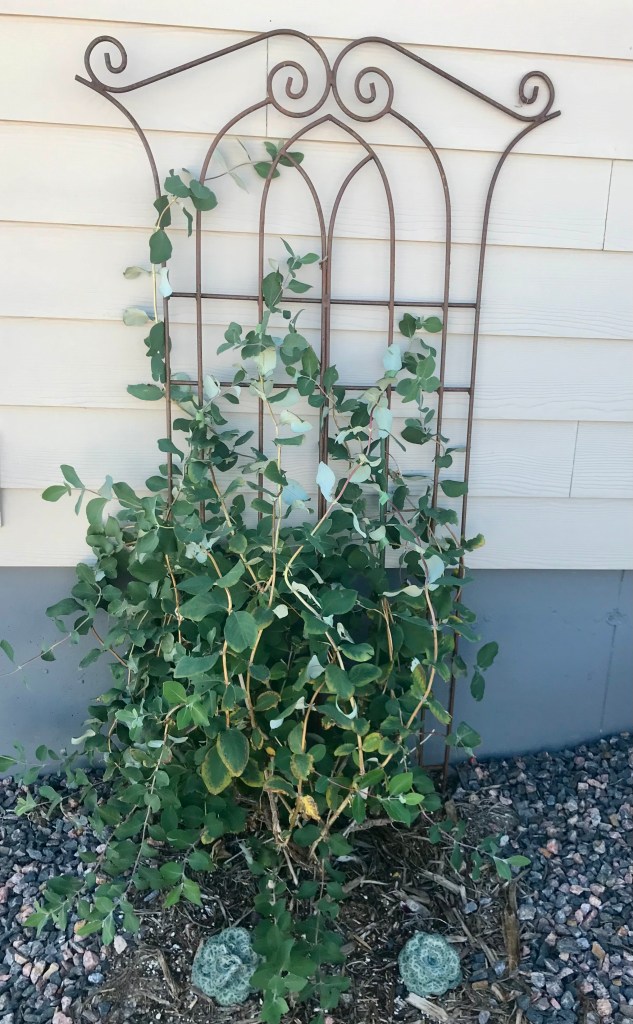
The leathery leaves of this biennialhave a beautiful veined pattern and form a perfect rosette. It is a good fit for rock gardens as it prefers drier and well draining conditions. I have only seen mature rosettes during garden tours in Pueblo and every time it has been in partial shade and in a perennial bed, not a rock garden. Since I don’t have a rock garden yet, I decided to try planting them in sandy soil front of a Kintzley’s Ghost honeysuckle on the east side of my house.
Bukiniczia cabulica in front of Kintzley’s Ghost Honeysuckle Photo by Author
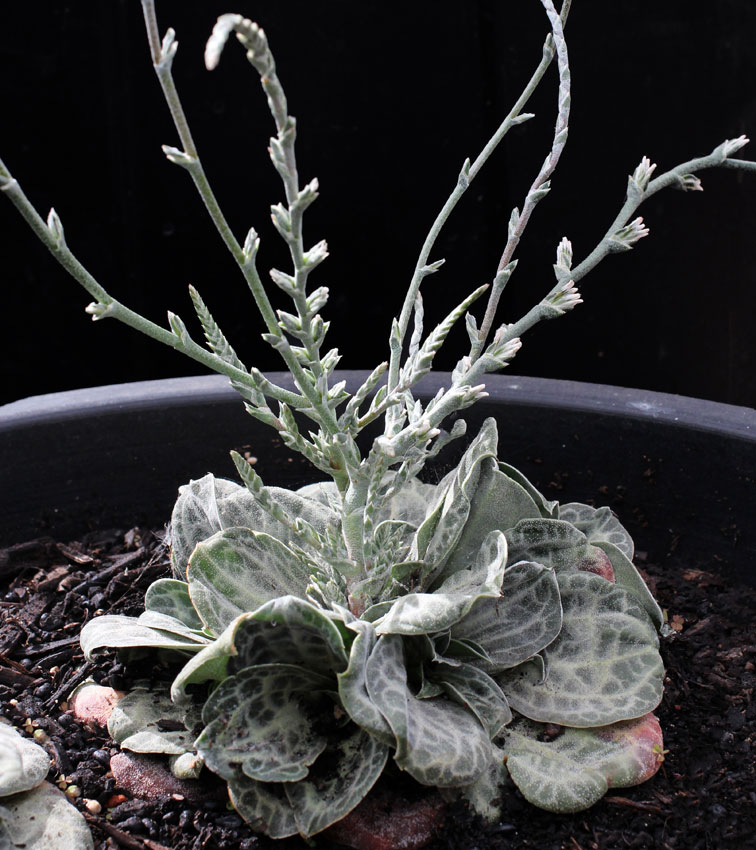
The plants were in 2.5 inch pots and around an inch or two across when I planted them. Now at our growing season’s end, the rosettes are 4-5inches across. Hopefully both will bloom and set seed next year before they die. It is not an easy plant to come by locally — I only have seen them at the NARGS sale. Annie’s Annuals in California and Far Reaches Farm in Washington State sell it online.
Bukiniczia cabulica bloom stem Photo by Annie’s Annuals
Bukiniczia cabulica blooms are borne on 18″ stalks and are pretty insignificant. I’ve seen the color described as pinkish tan but haven’t seen it in person yet. Both plants have done really well so hope to get some seeds from them next year. Annie’s description says some plants may also produce offsets, which would be great. Both Annie’s Annuals and Far Reaches farm classify Bukiniczia cabulica as hardy to Zone 5 on their website. I plan to winter protect mine this year when temperatures go below zero. I also am wintering one in a container that I can move into the garage in case these two don’t survive our erratic Colorado winter weather. If I do get seed, I’ll update this post.
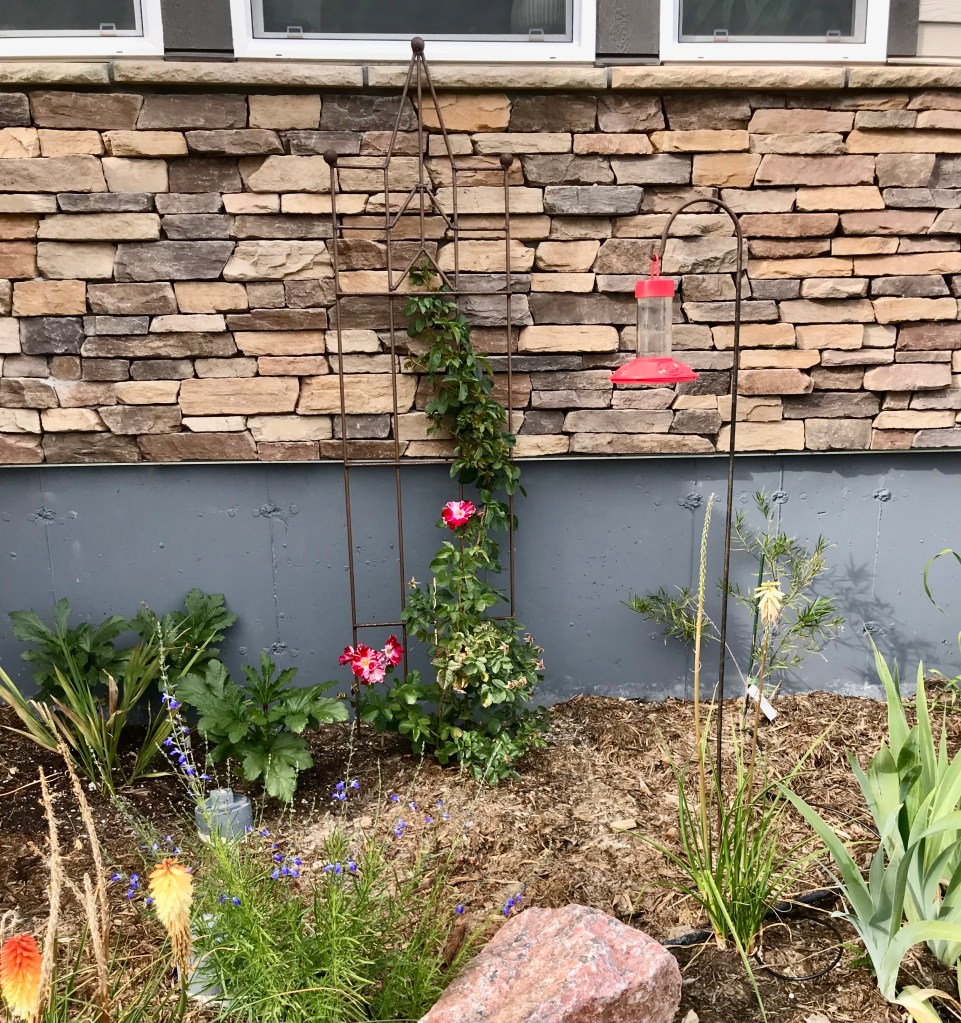
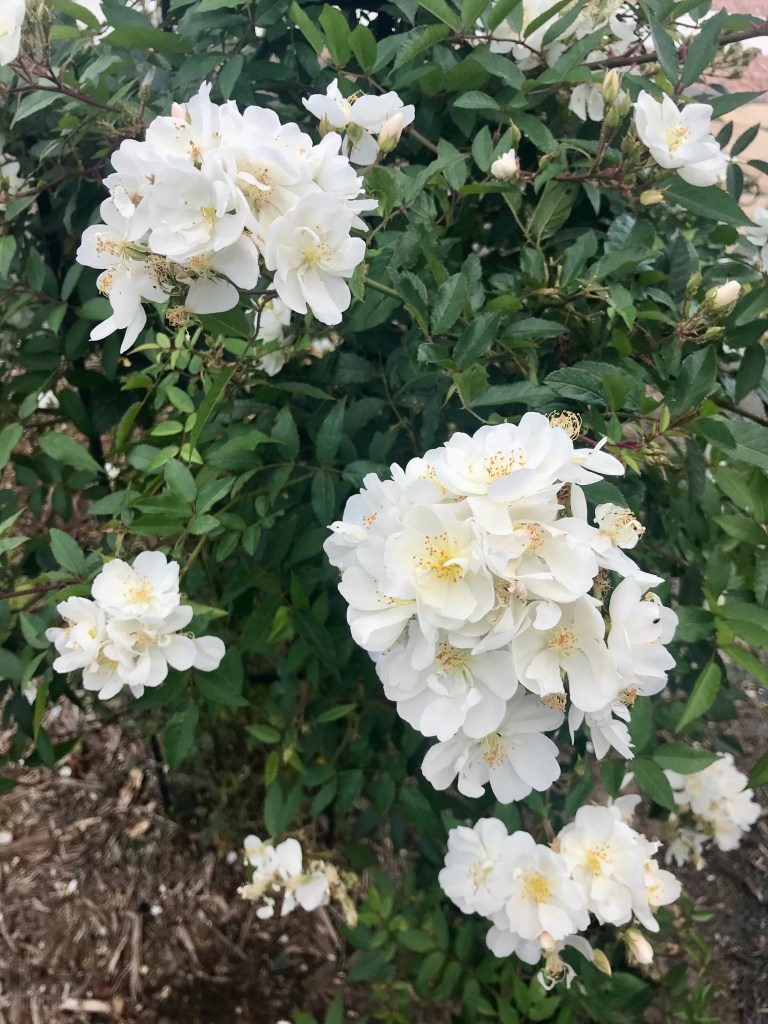
There are still flowers in my early fall garden. We have had above average temperatures appreciated by both plants and the gardener. I’ve recently planted some single roses to support pollinators although I do have my favorite doubles and English style roses as well.
Rose Fourth Of July – a climber. She’s hardy to Zone 5, but I put her against the south wall of the house for extra protection.
Happy to see that big new cane appear its first year in the ground. As you can see, my hummingbird feeder is still up. I leave my feeders up until mid-October in case there are stragglers. I did see a hummer on September 29.
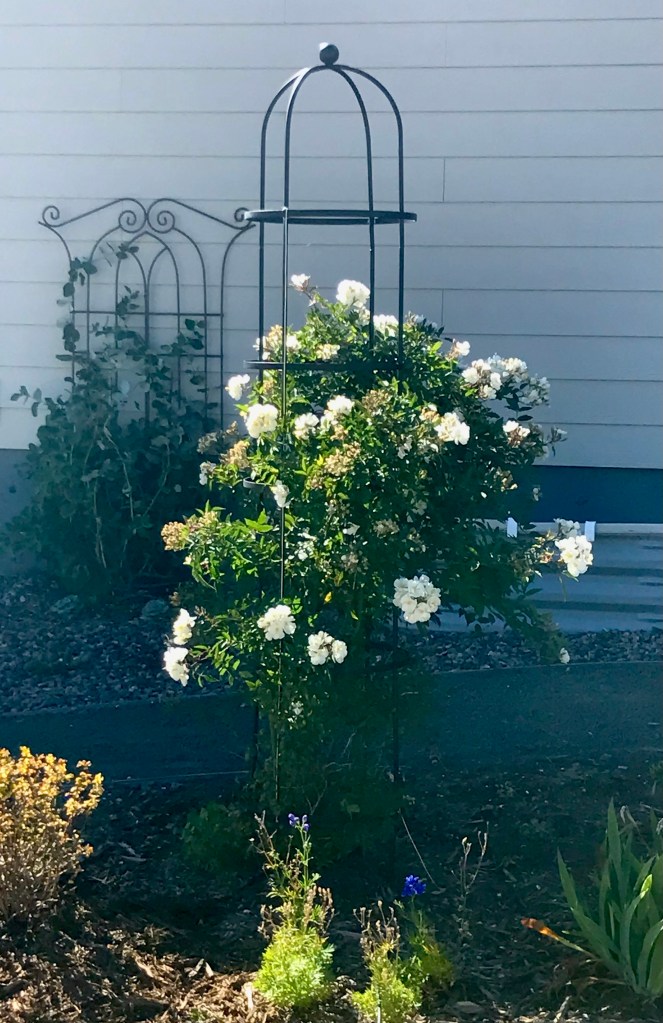
Rose Darlow’s Enigma is over halfway up the obelisk in its second year. This rose is hardy to Zone 4.
Clusters of lightly fragrant single white flowers attract pollinators.
Some surprise late bloom on clematis Niobe. She’s planted under an obelisk that is the twin of the one Darlow’s Enigma is climbing up. The foliage is that of rose Blanc Double de Coubert, a hardy to Zone 4 semi-double white rose with a yellow center. The idea is that Niobe will climb through Blanc Double de Coubert and Heavenly Blue morning glory will be planted out next spring to climb through Darlow’s Enigma.
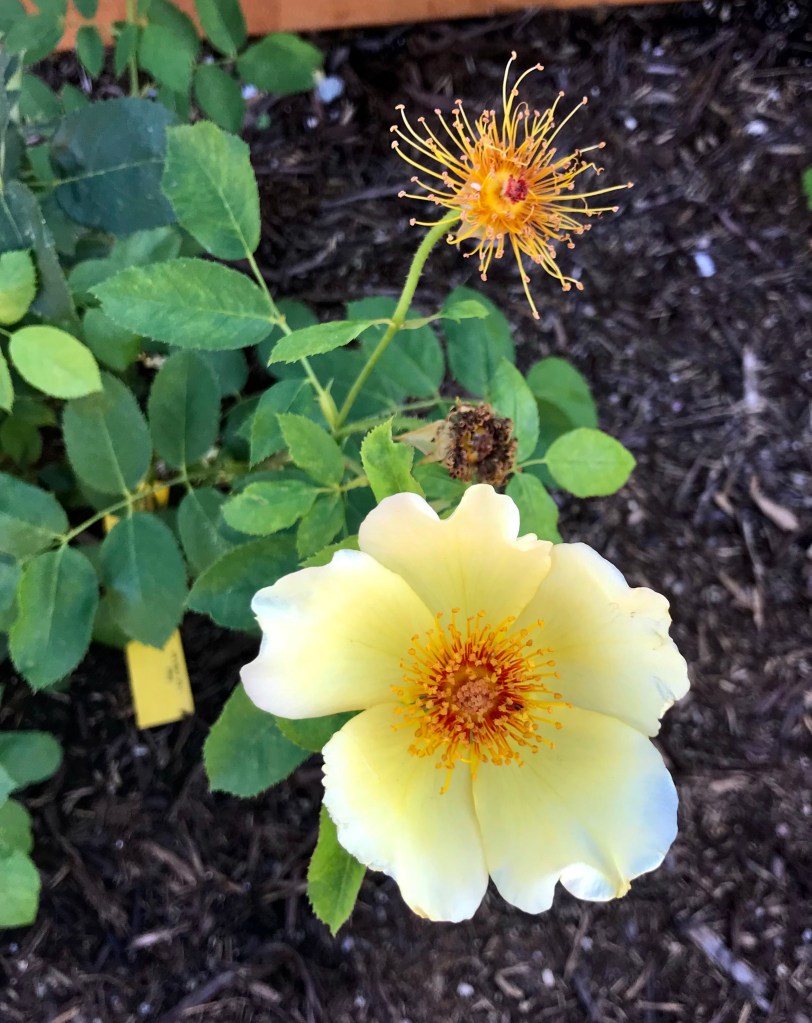
Rose Golden Wings. This time of year, I do not deadhead so the roses know it is time to prepare for winter. Golden Wings also produces lovely orange hips from the spent blooms. She is hardy to Zone 5 so at my 7100 ft elevation, I will give winter protection during our coldest weather.
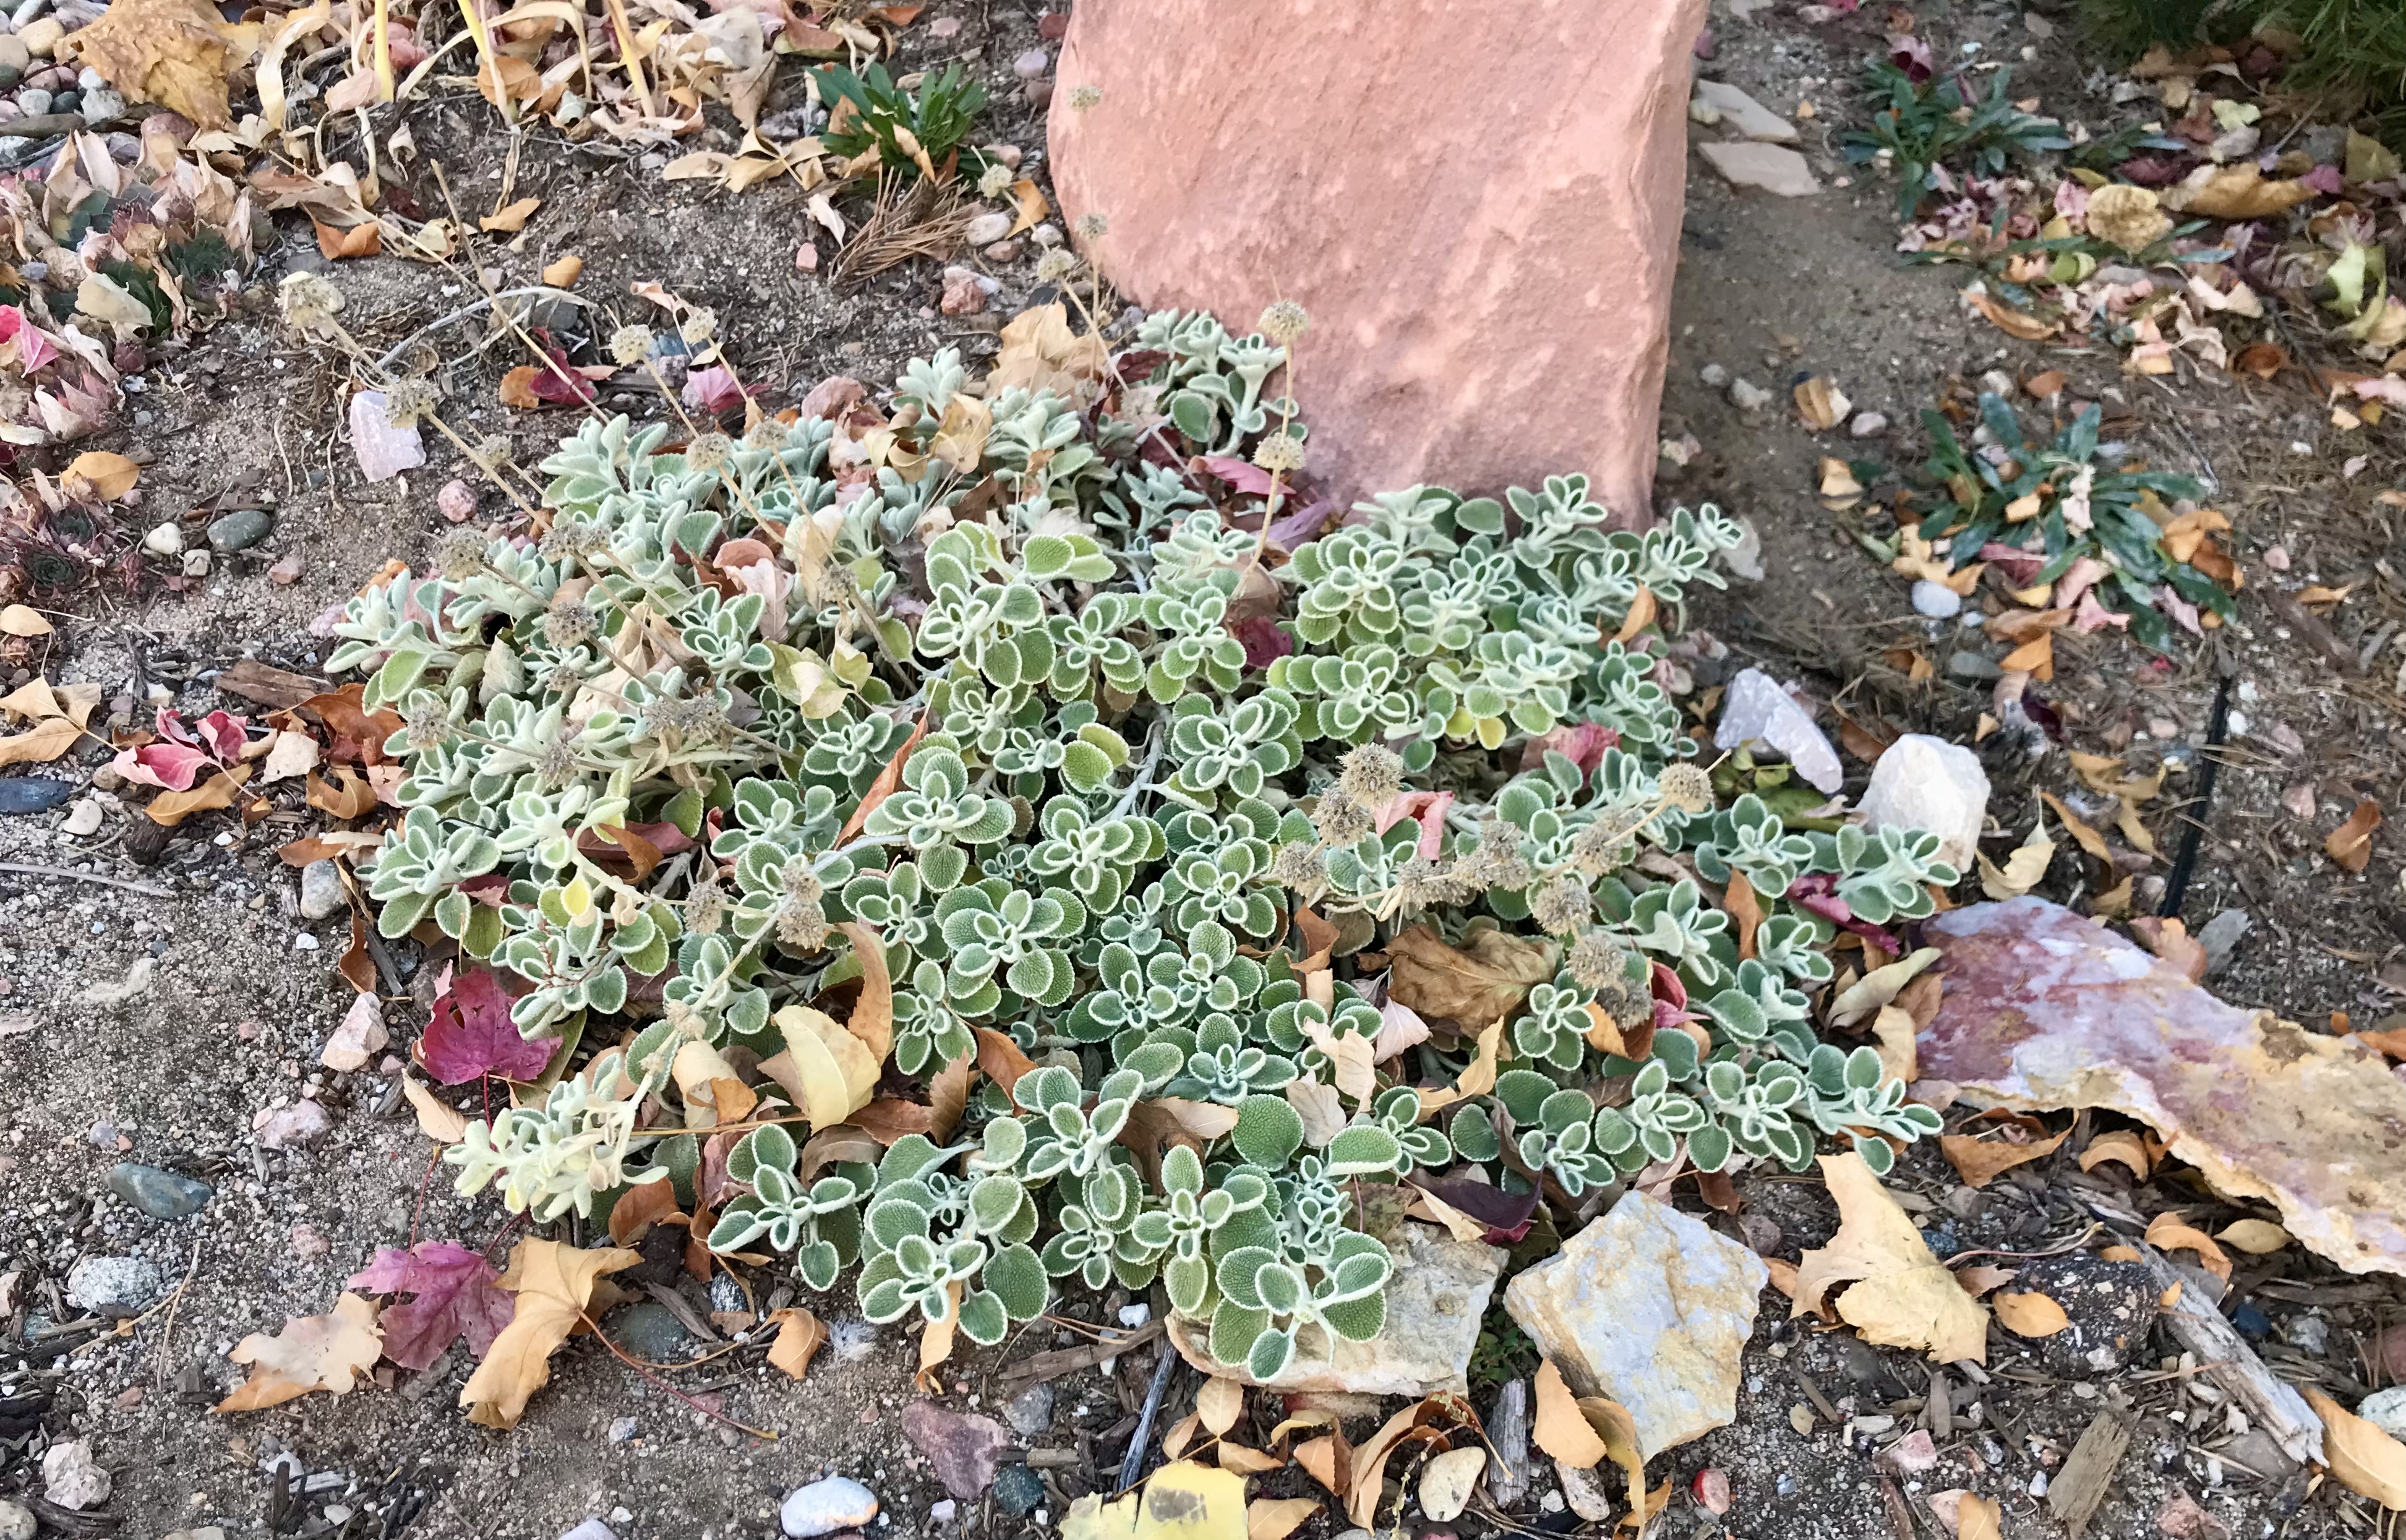
Silverheels Horehound (Marrubium rotundifolium) looking pretty nestled against a red boulder in my xeric bed. This plant is in its third year and keeps spreading slowly contrasting beautifully with the red stone. I love the silvery edges on its soft and wooly leaves. It is native to south facing slopes in the dry mountains of Turkey where it gets extremely cold and windswept, so it’s a natural for the steppe climate of Colorado. It’s in full sun in poor gravelly soil here and thrives with very infrequent watering. A beautiful plant I don’t want to be without.
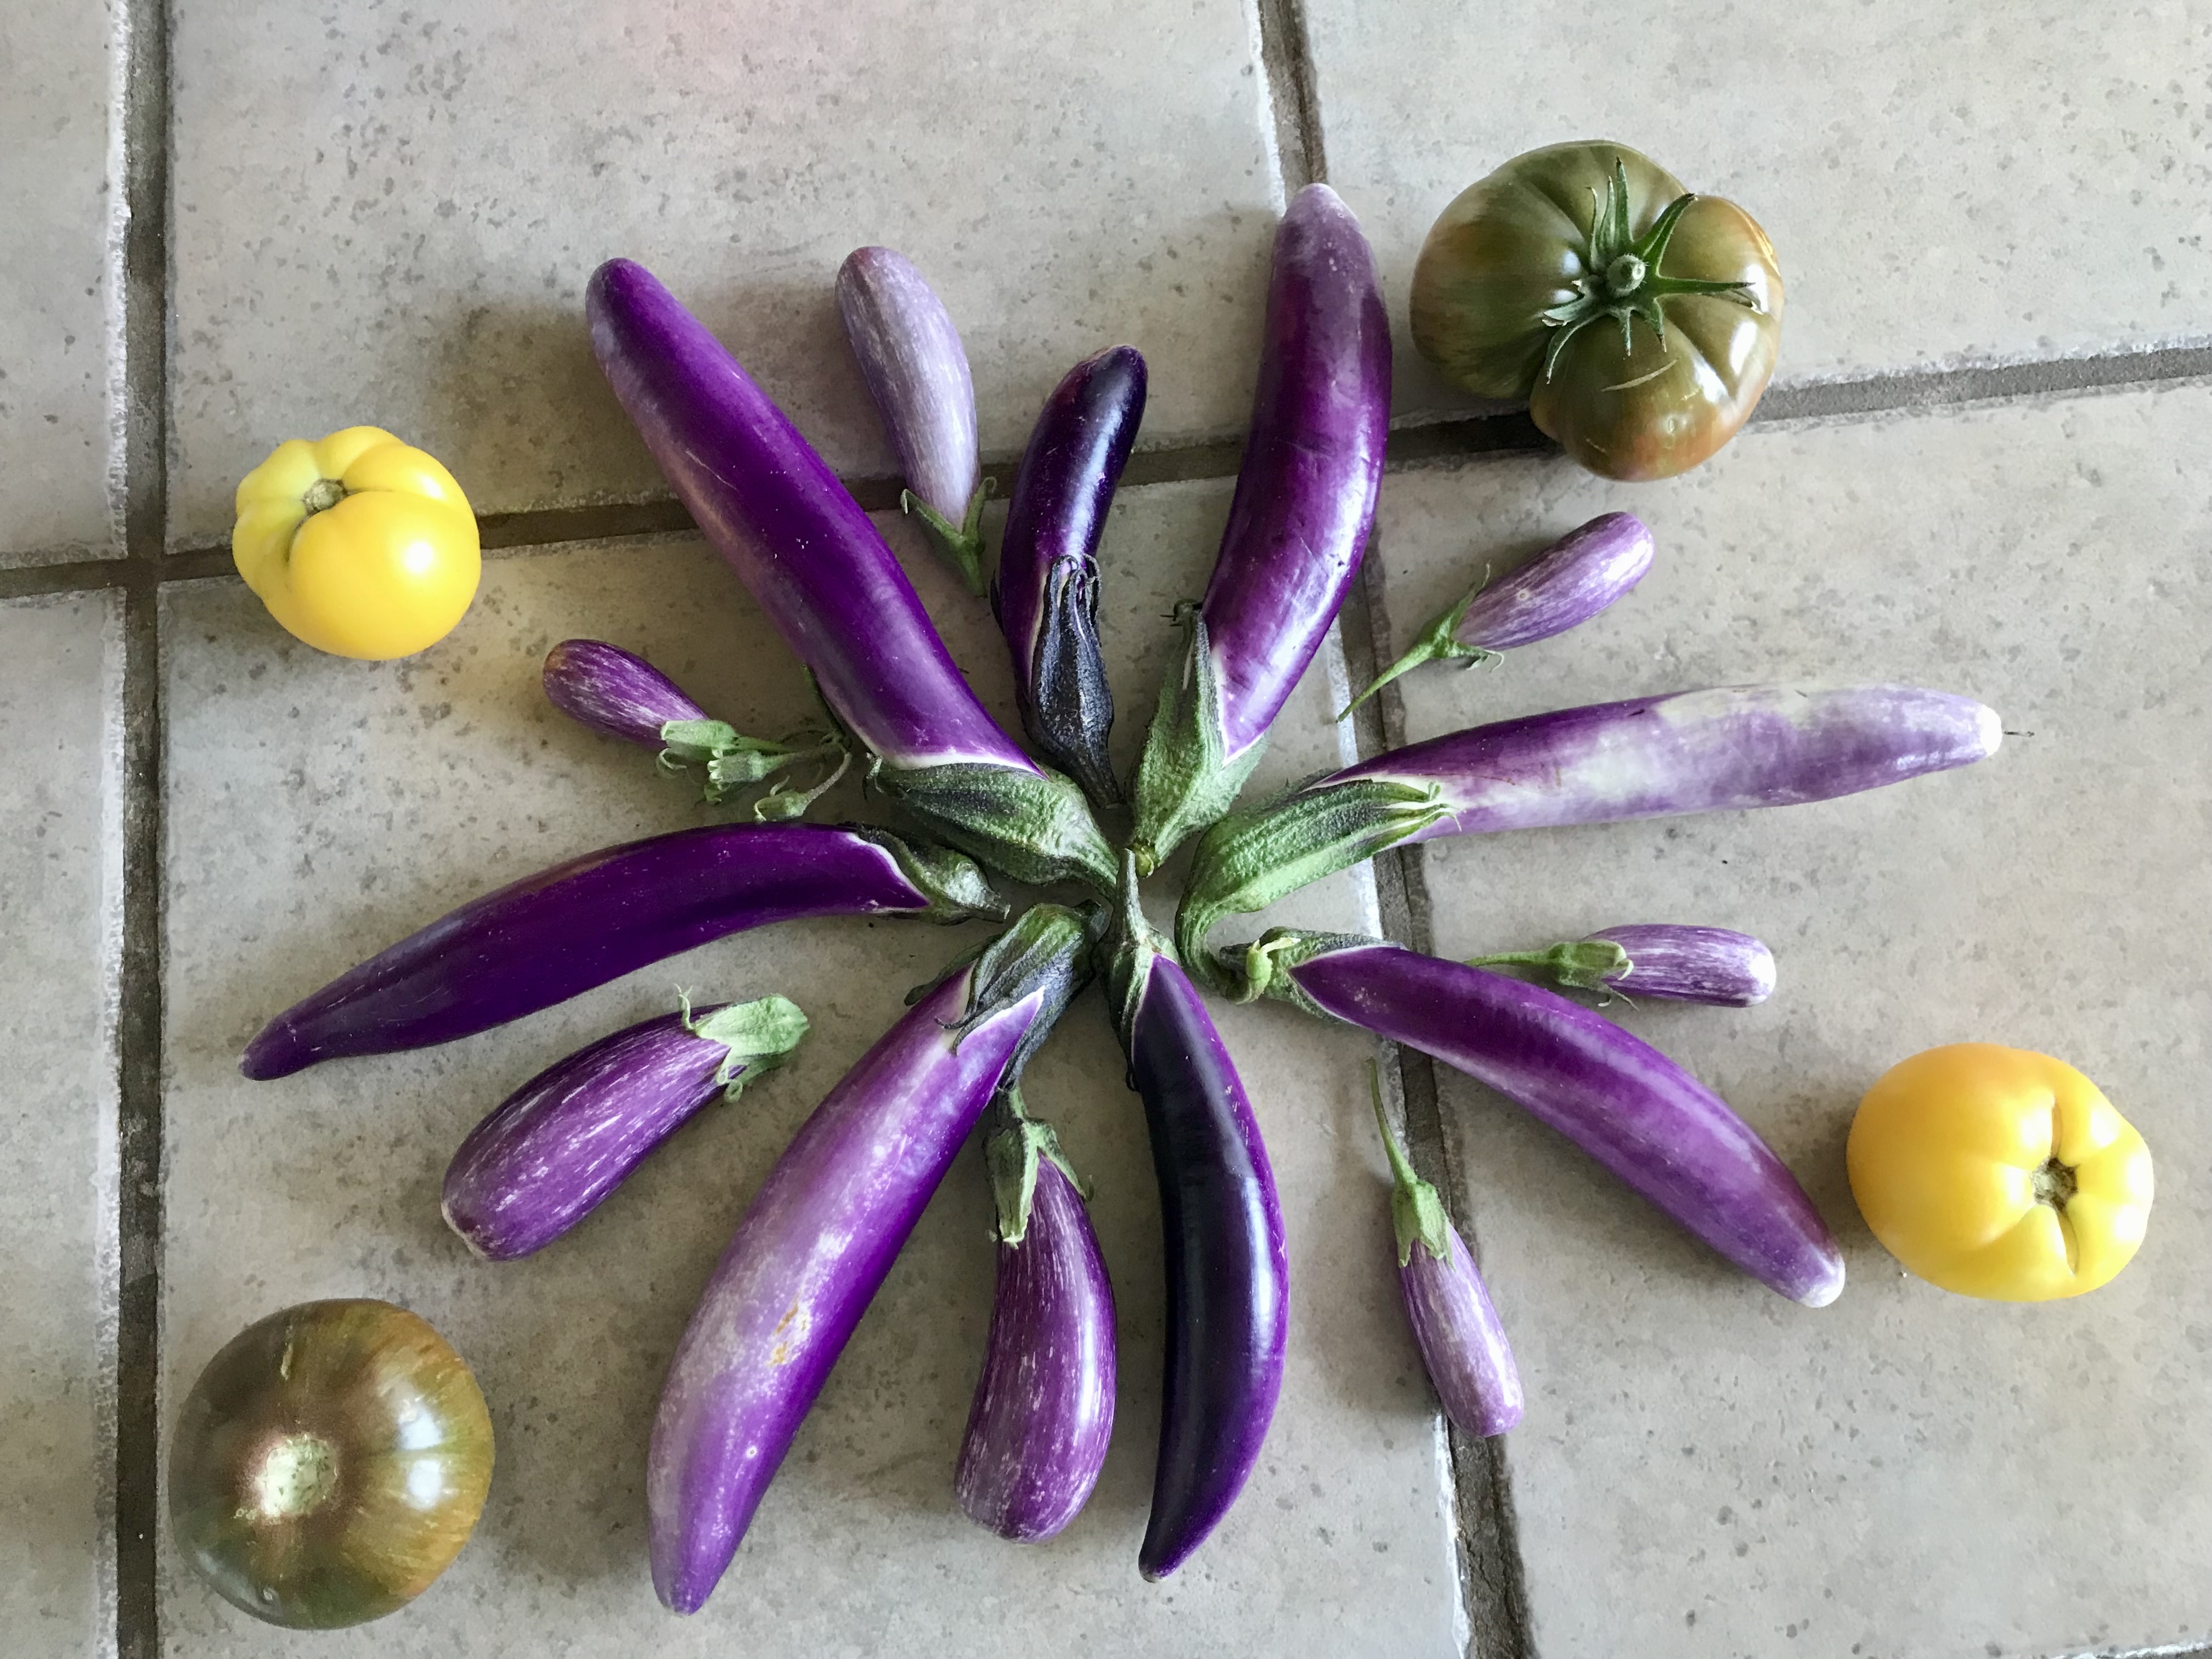
Eggplants Pingtung Long and Fairy Tale. Love their bright colors and they have more flavor than the larger ones. Tomatoes Sean’s Yellow Dwarf and Berkeley Pink Tie Dye. Both tomatoes I will grow again; I love their slightly tart but well balanced flavors.
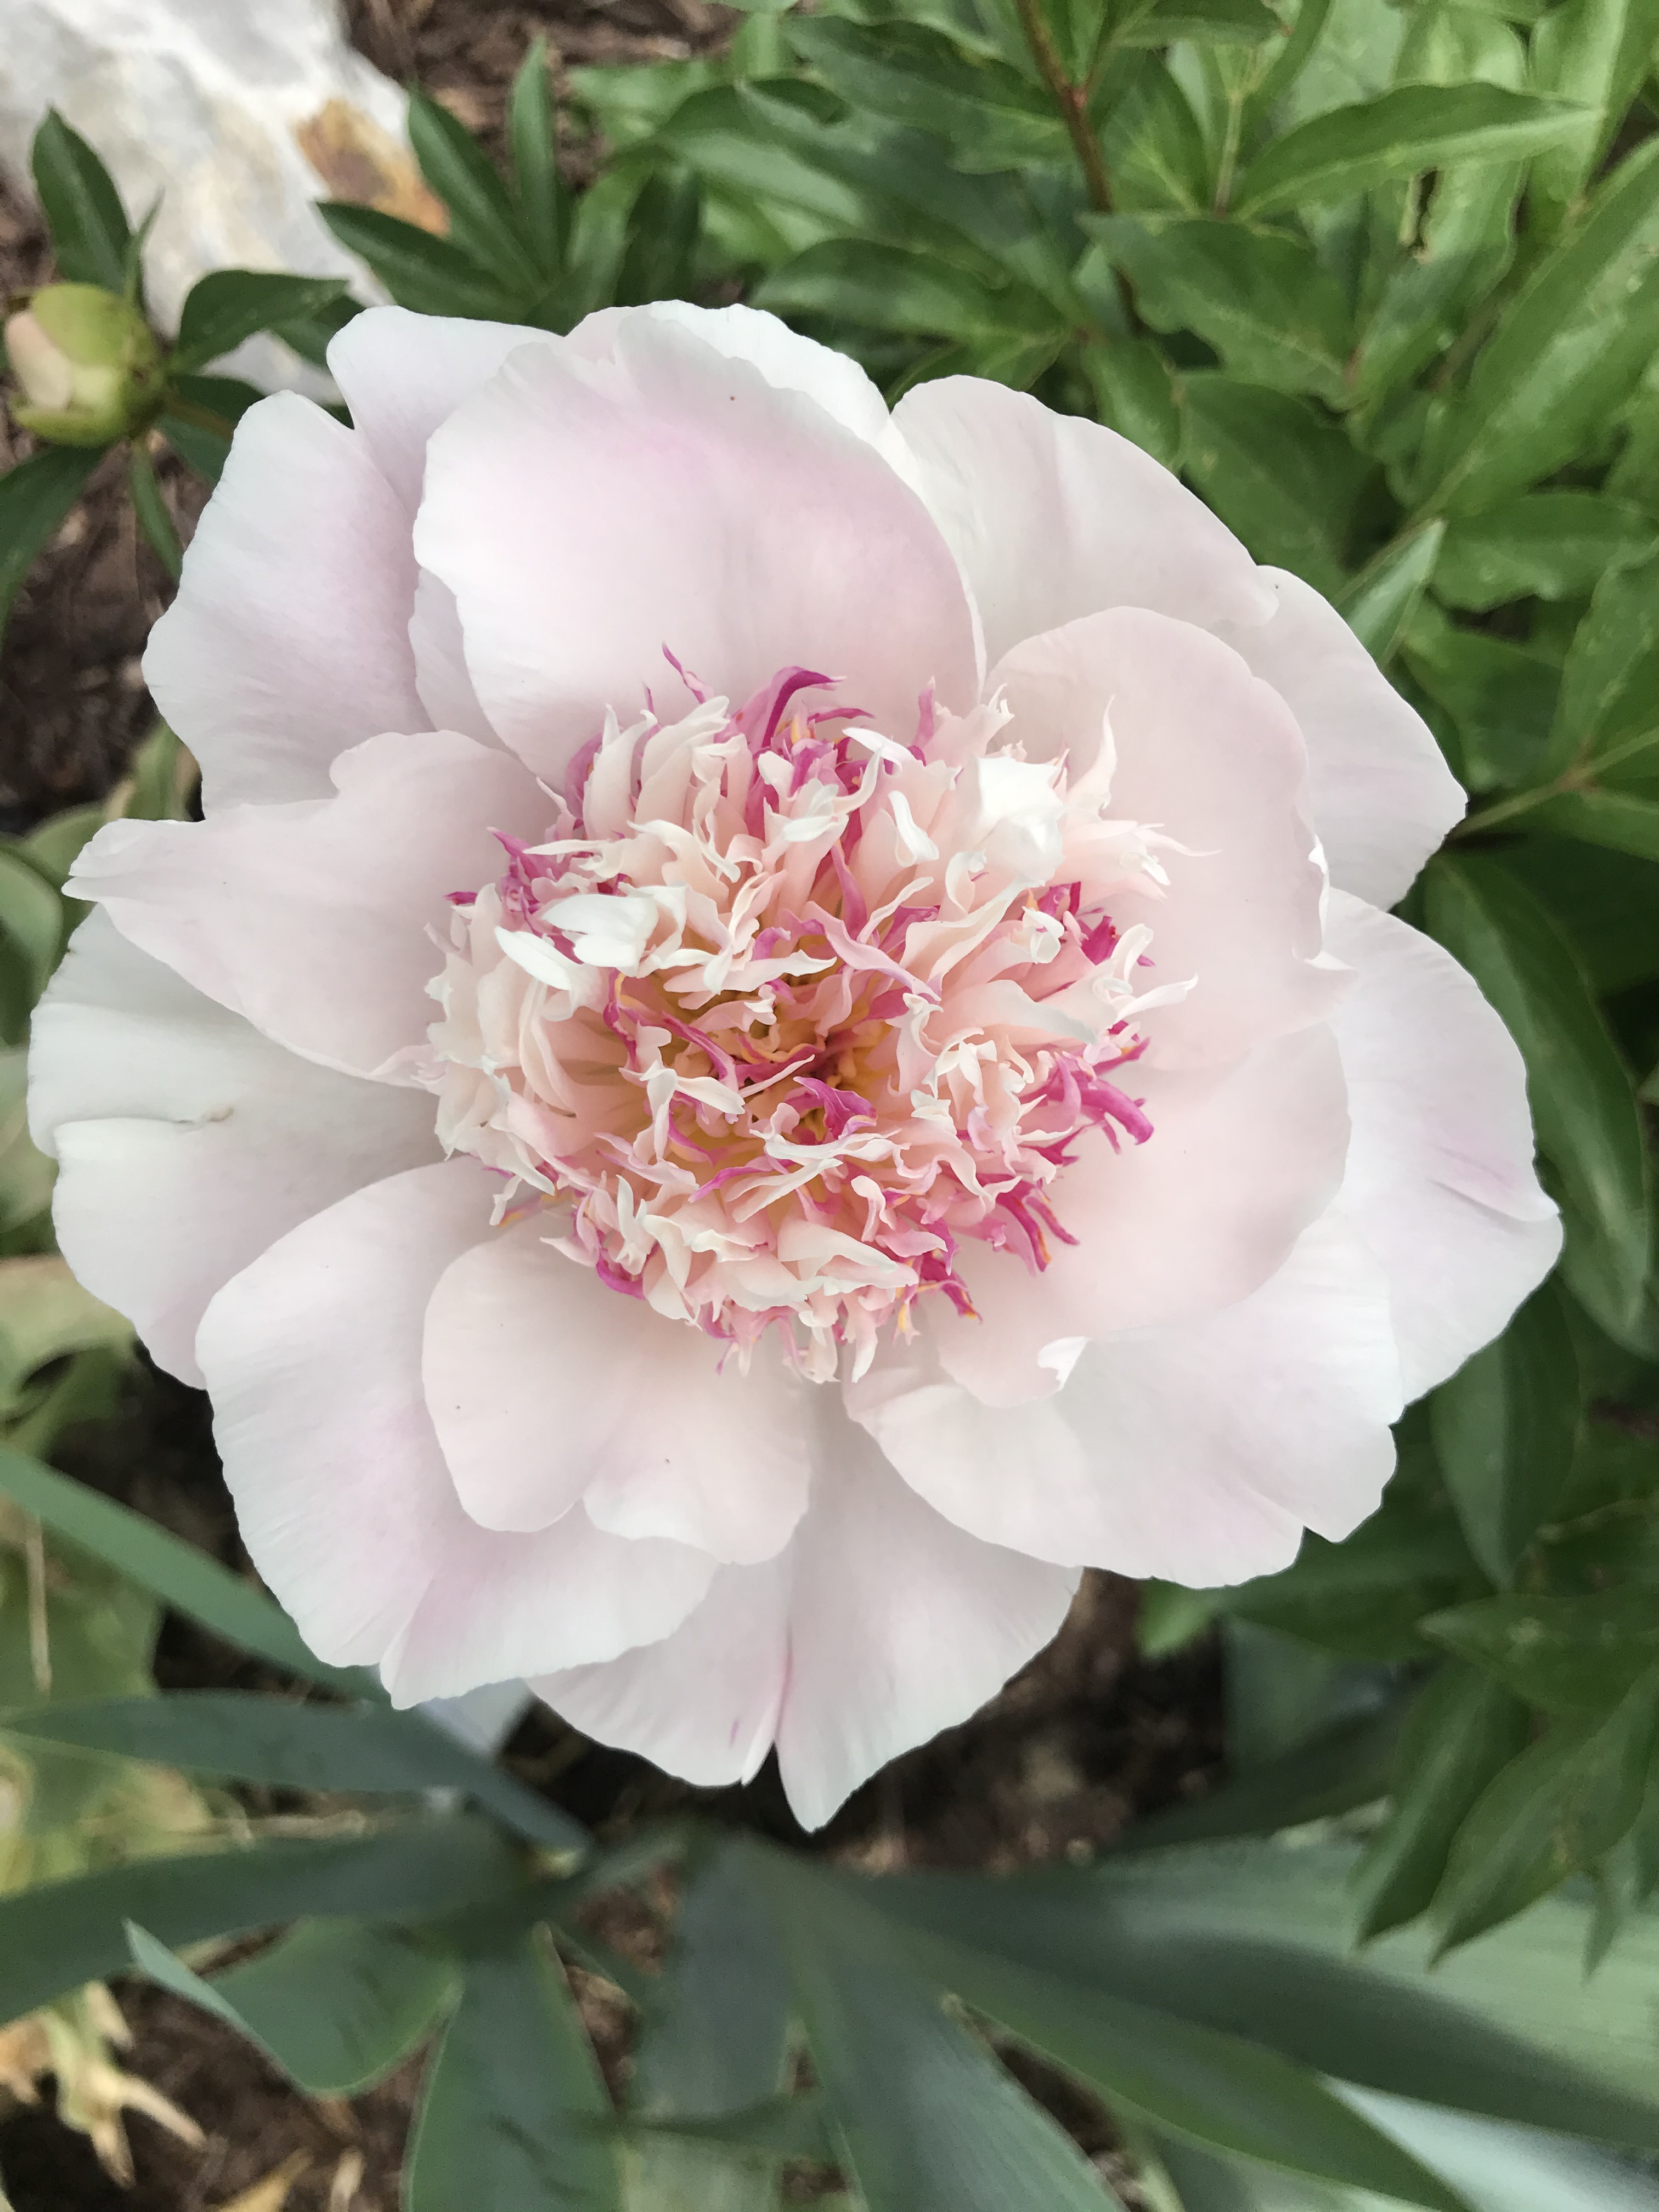
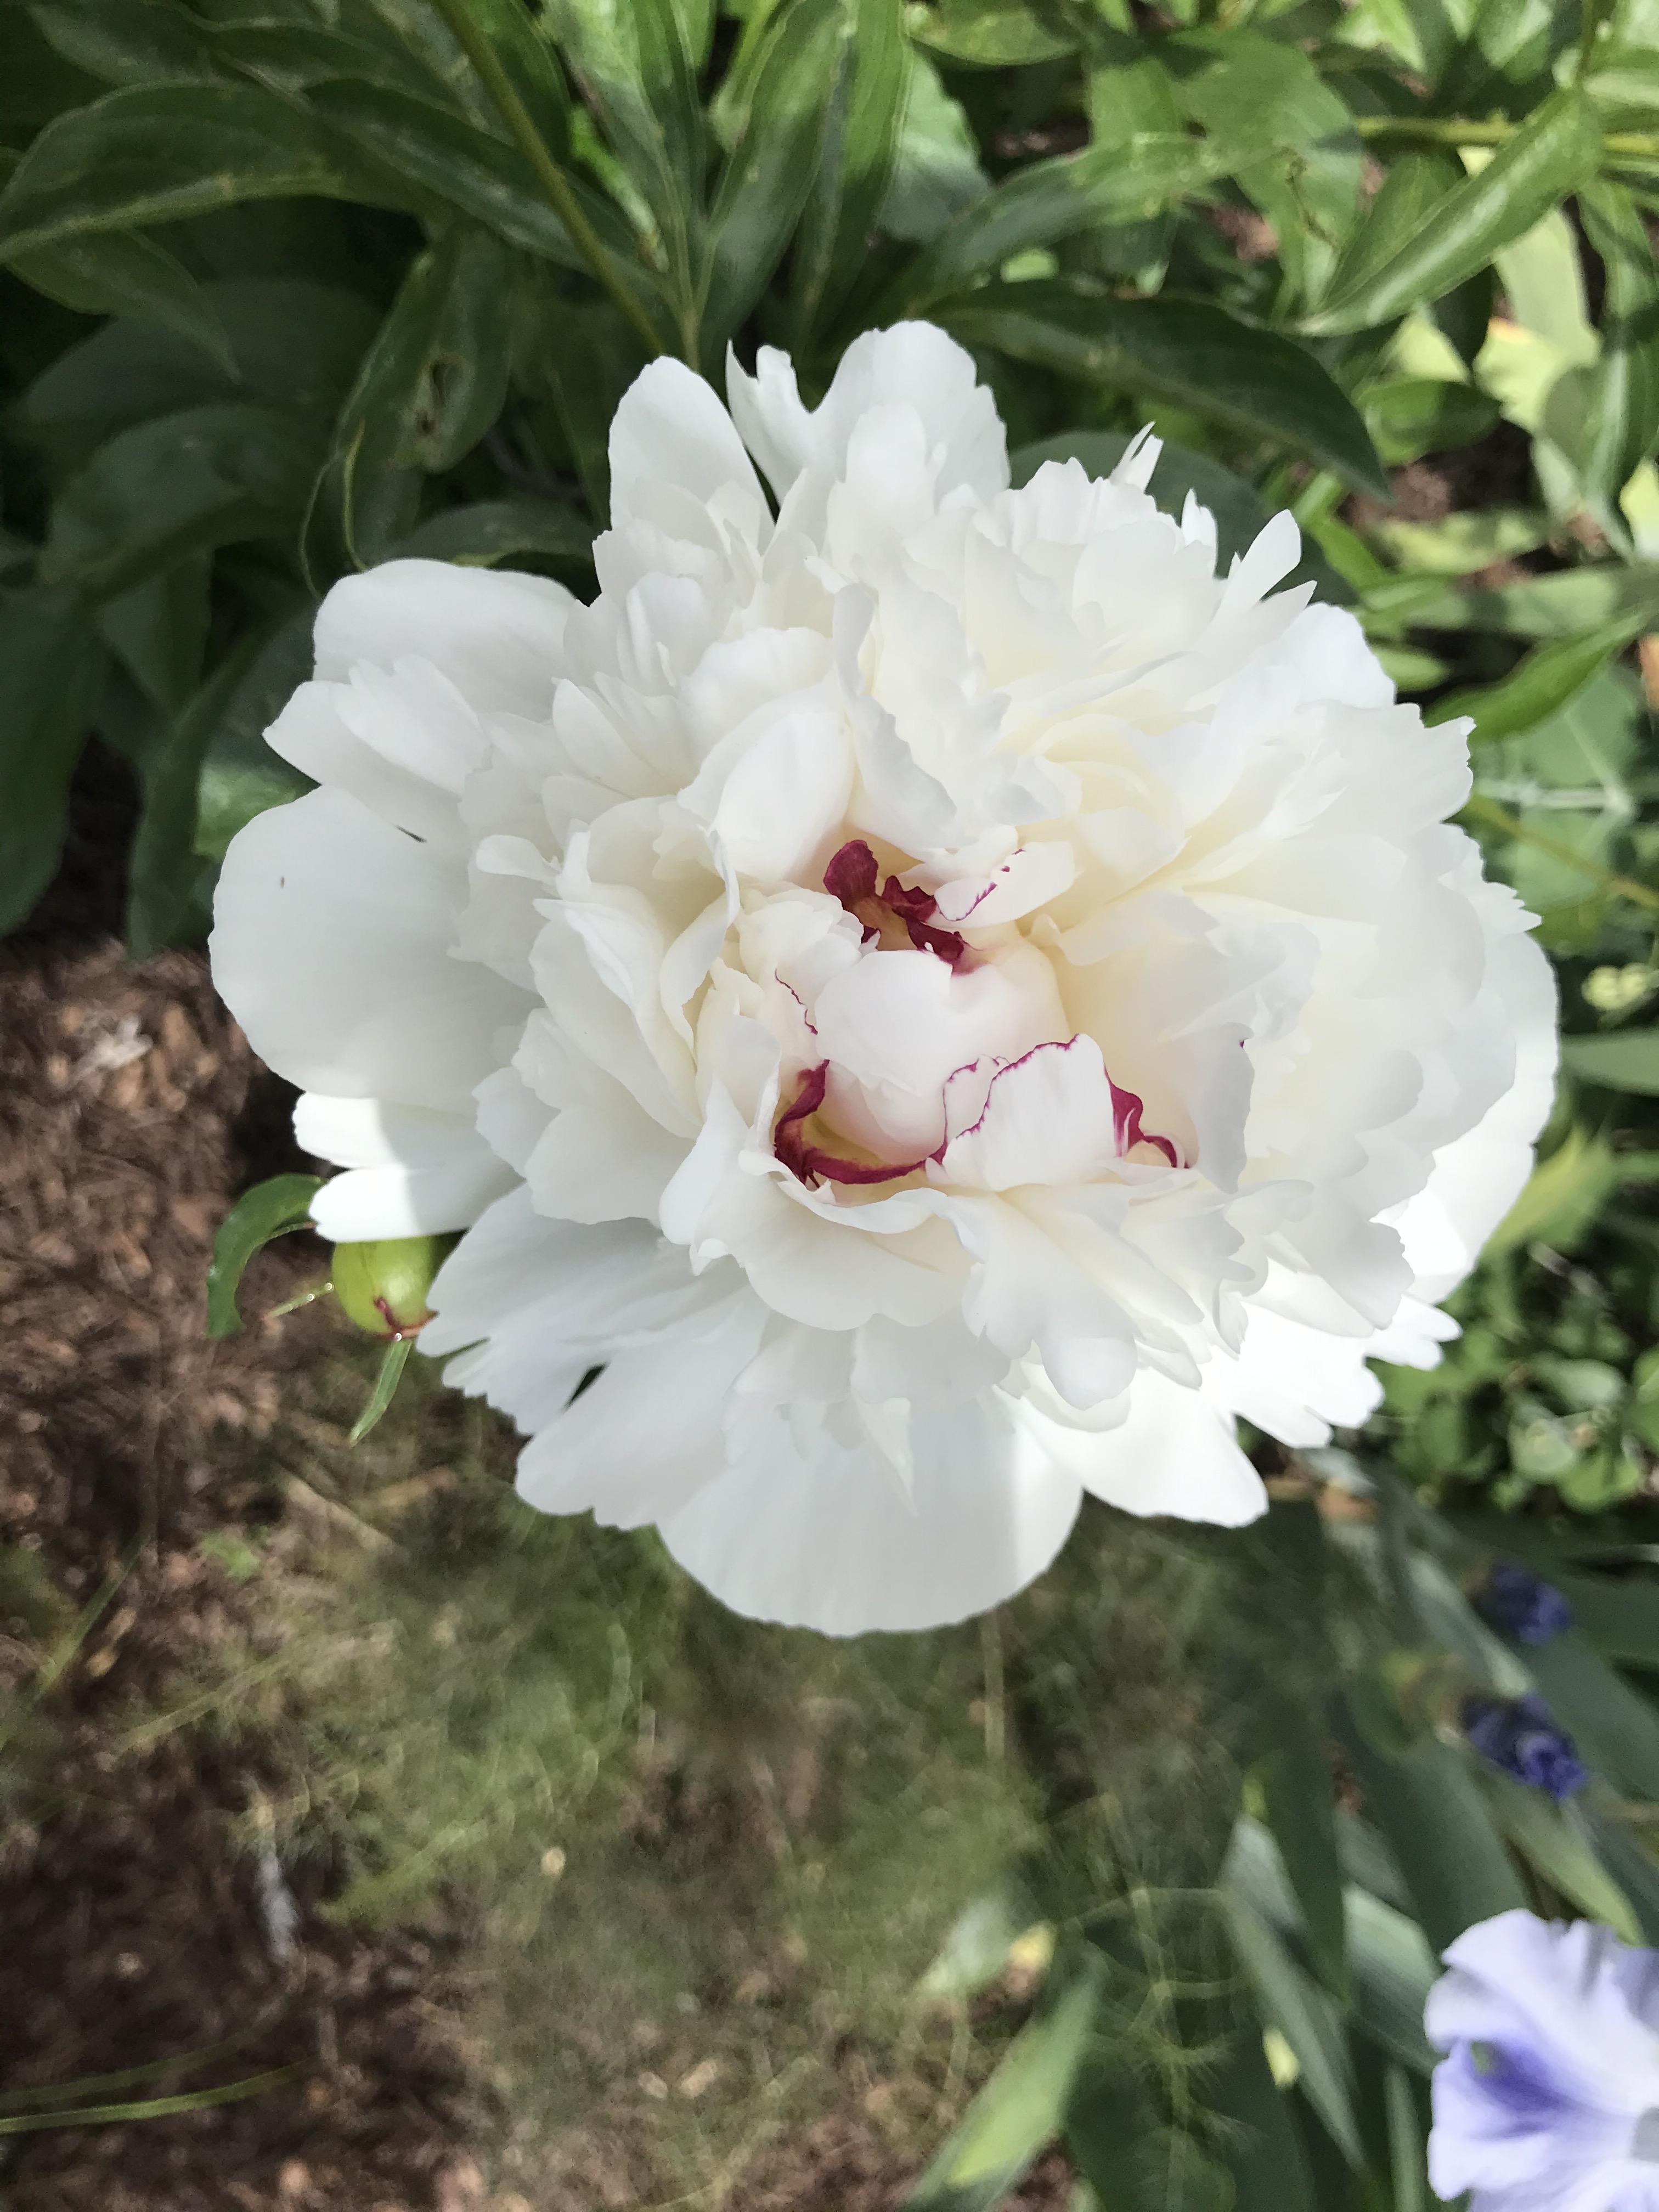
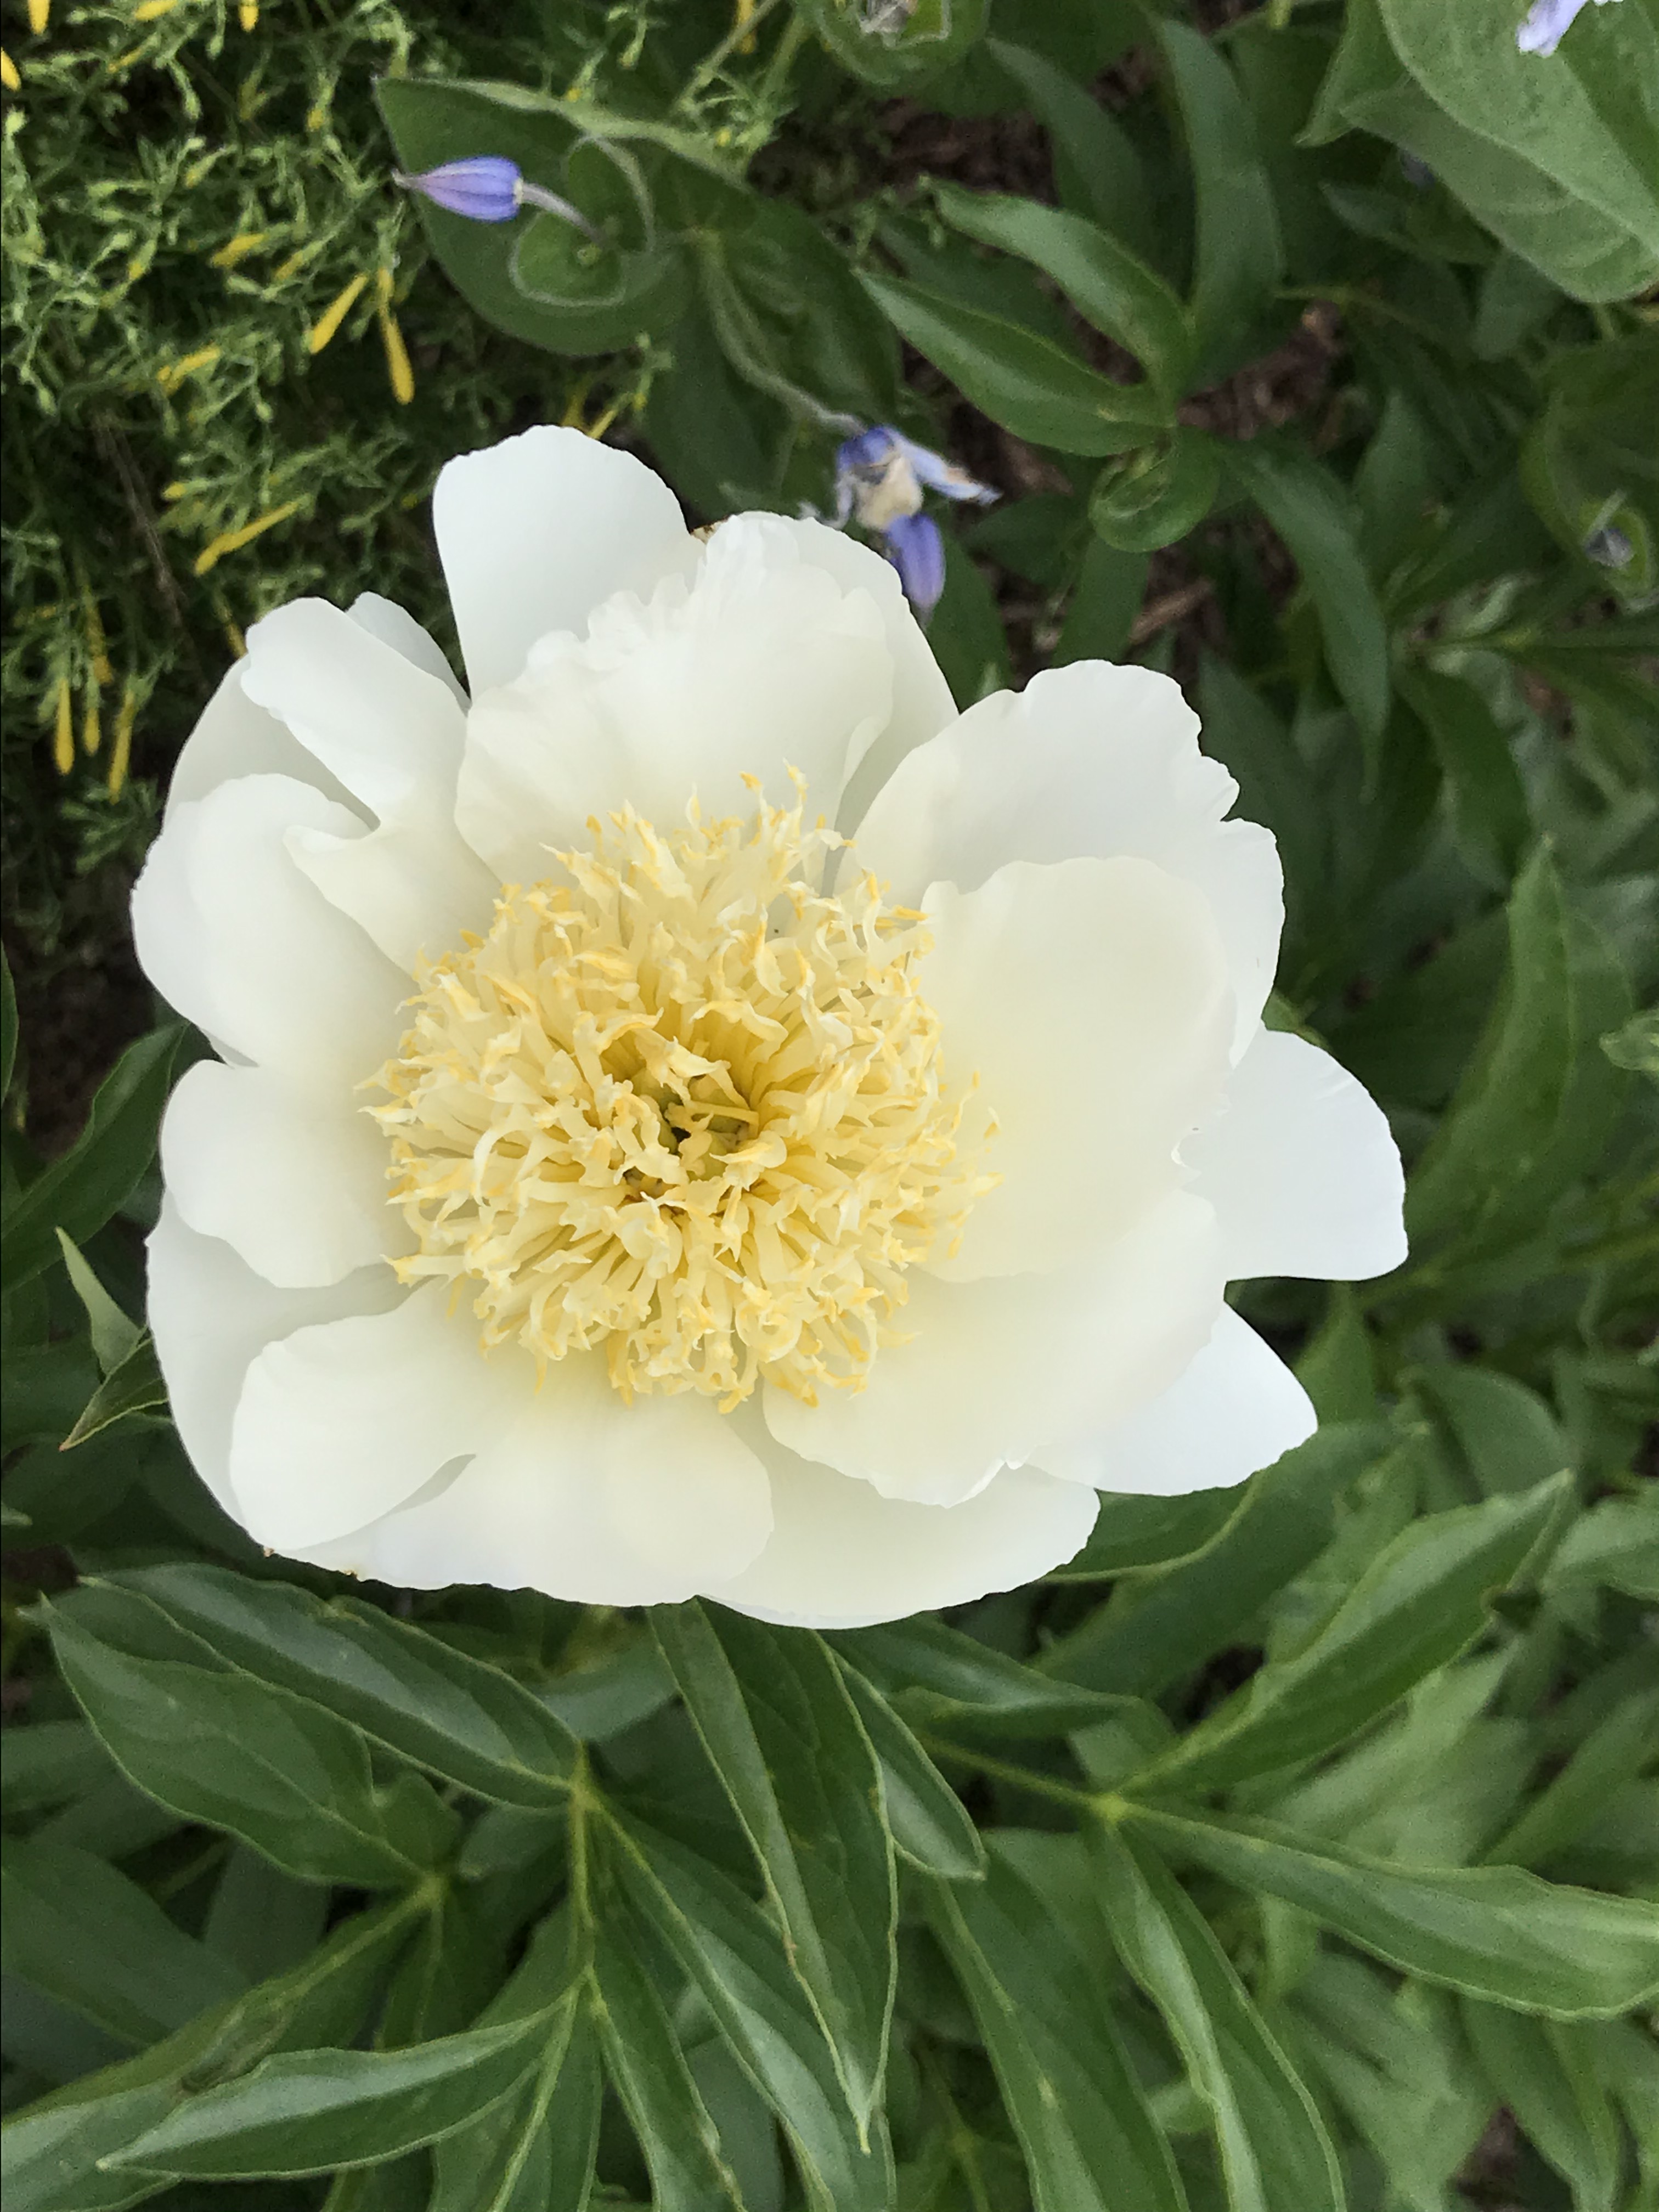
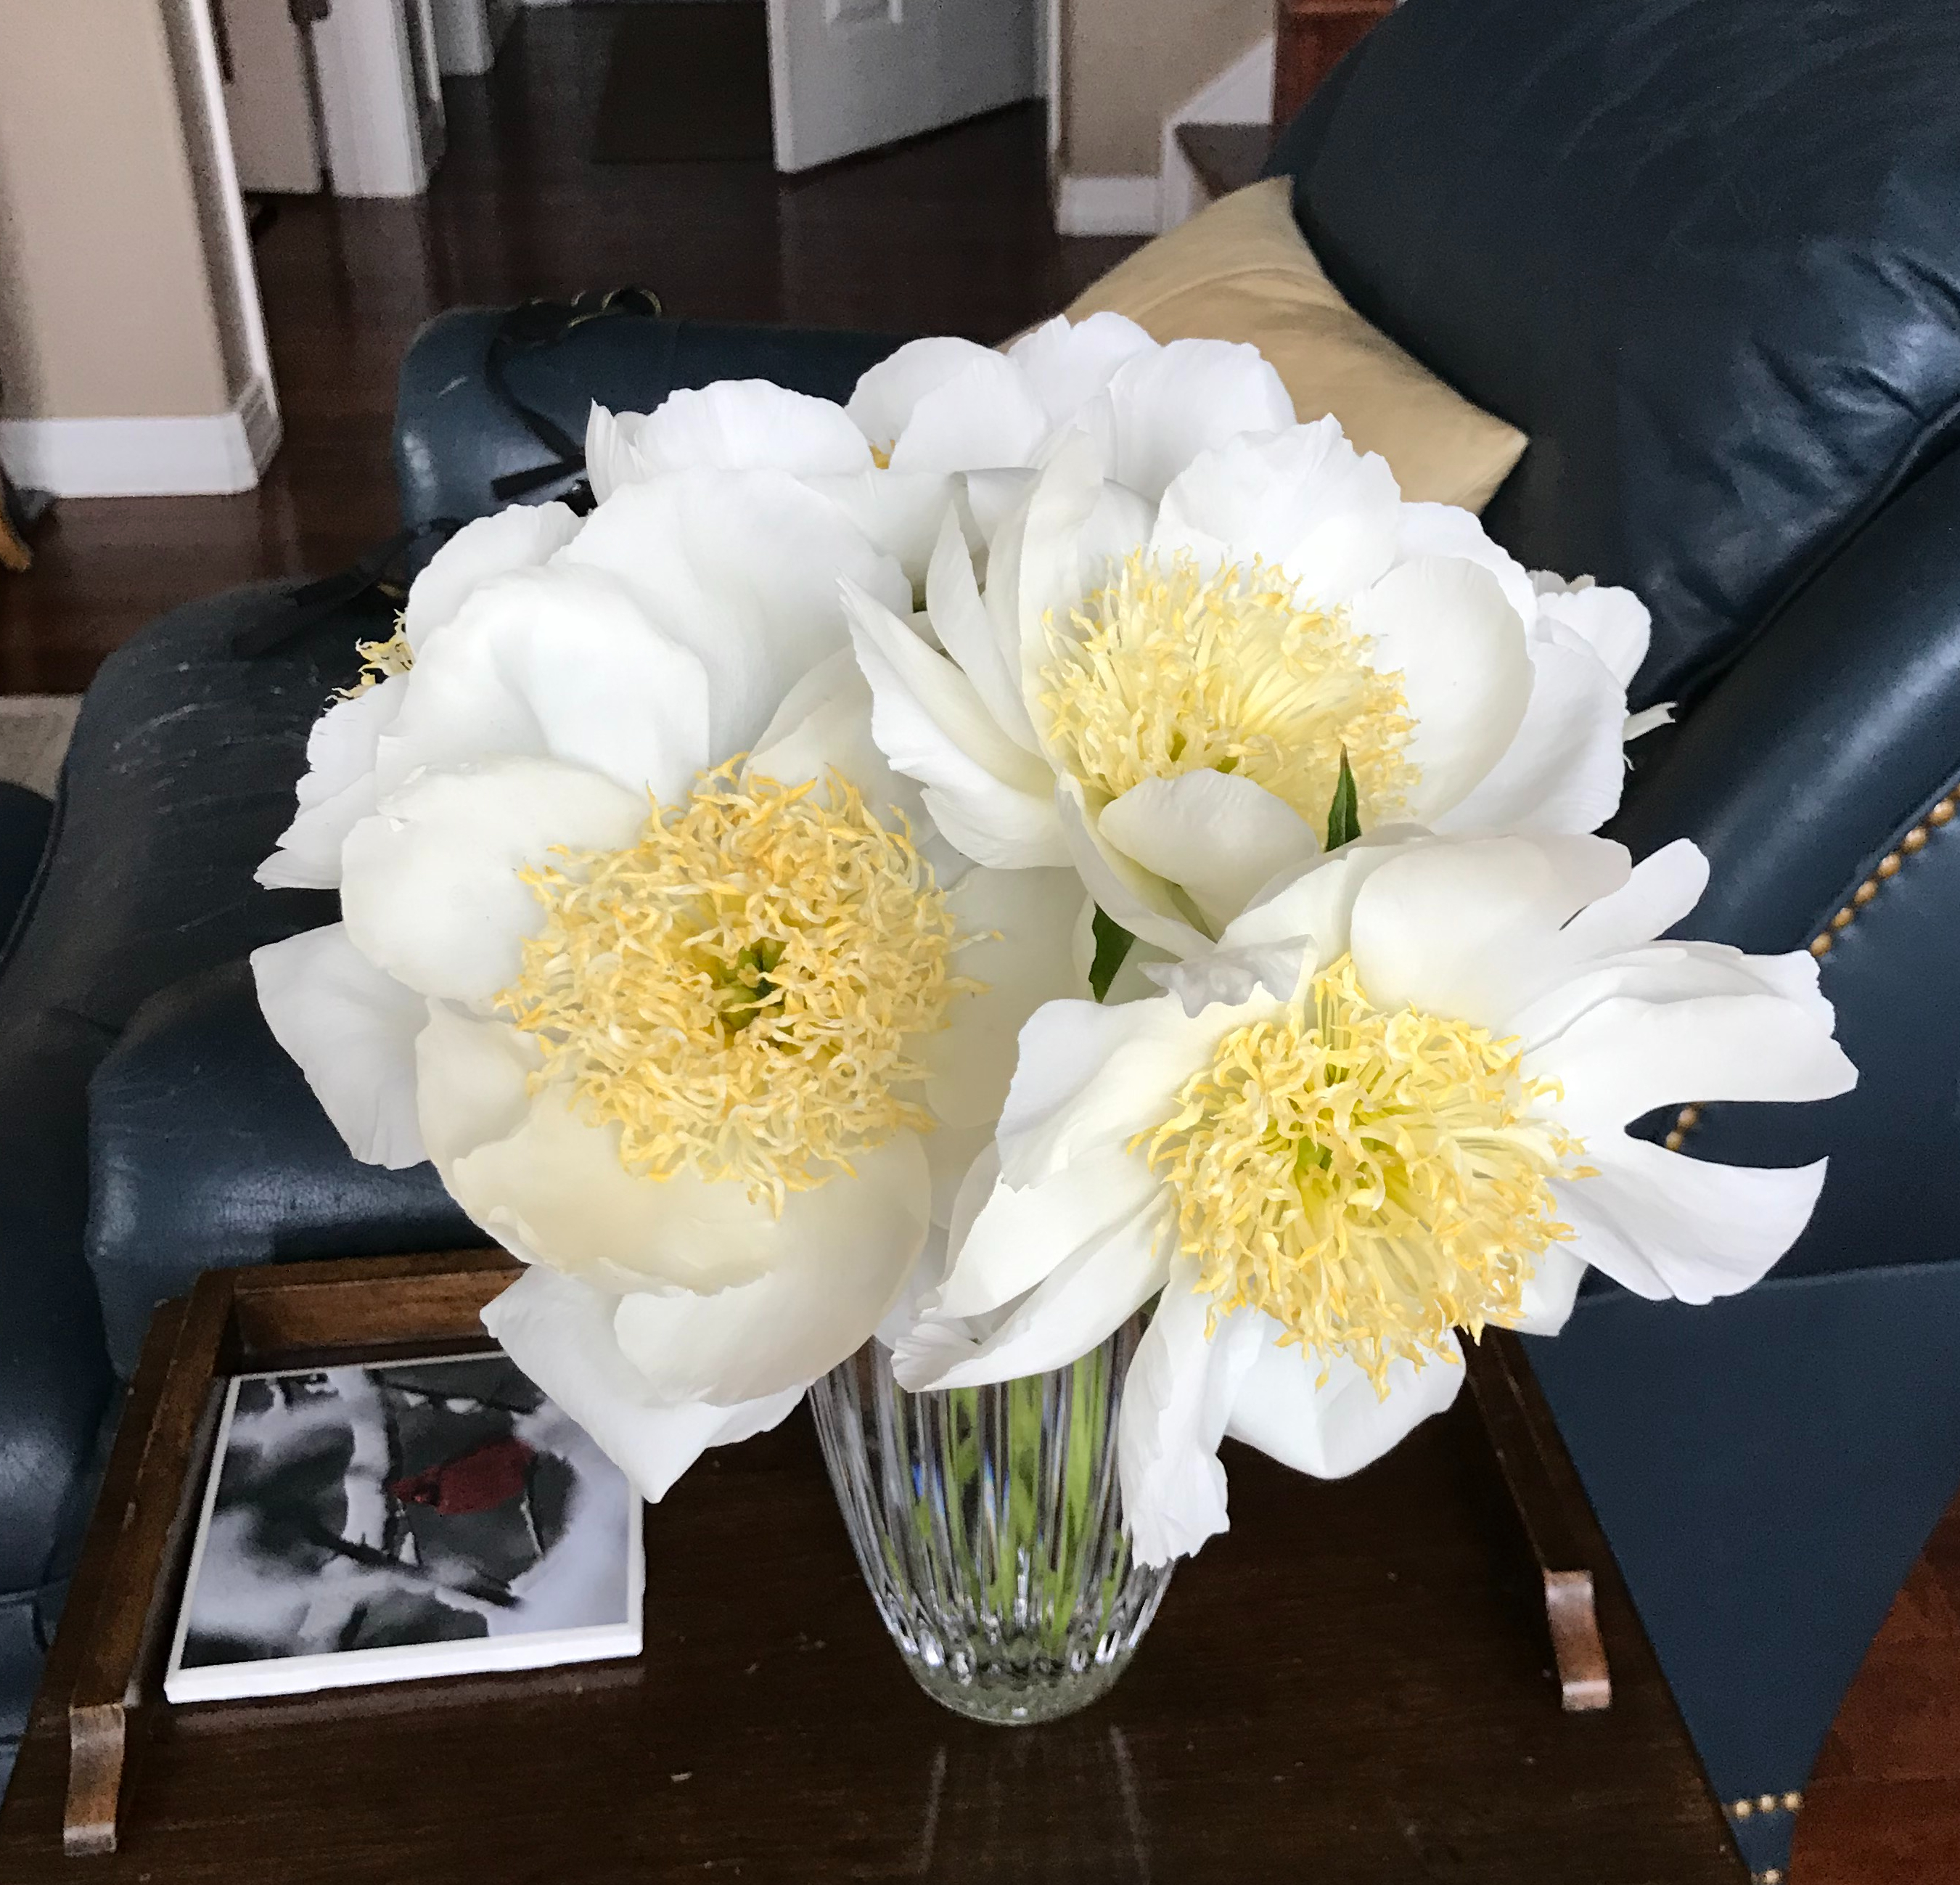
In June it warmed up and the peonies finally cooperated. Penstemon are looking great right now and roses are about to follow. Here are some recent peony photos.
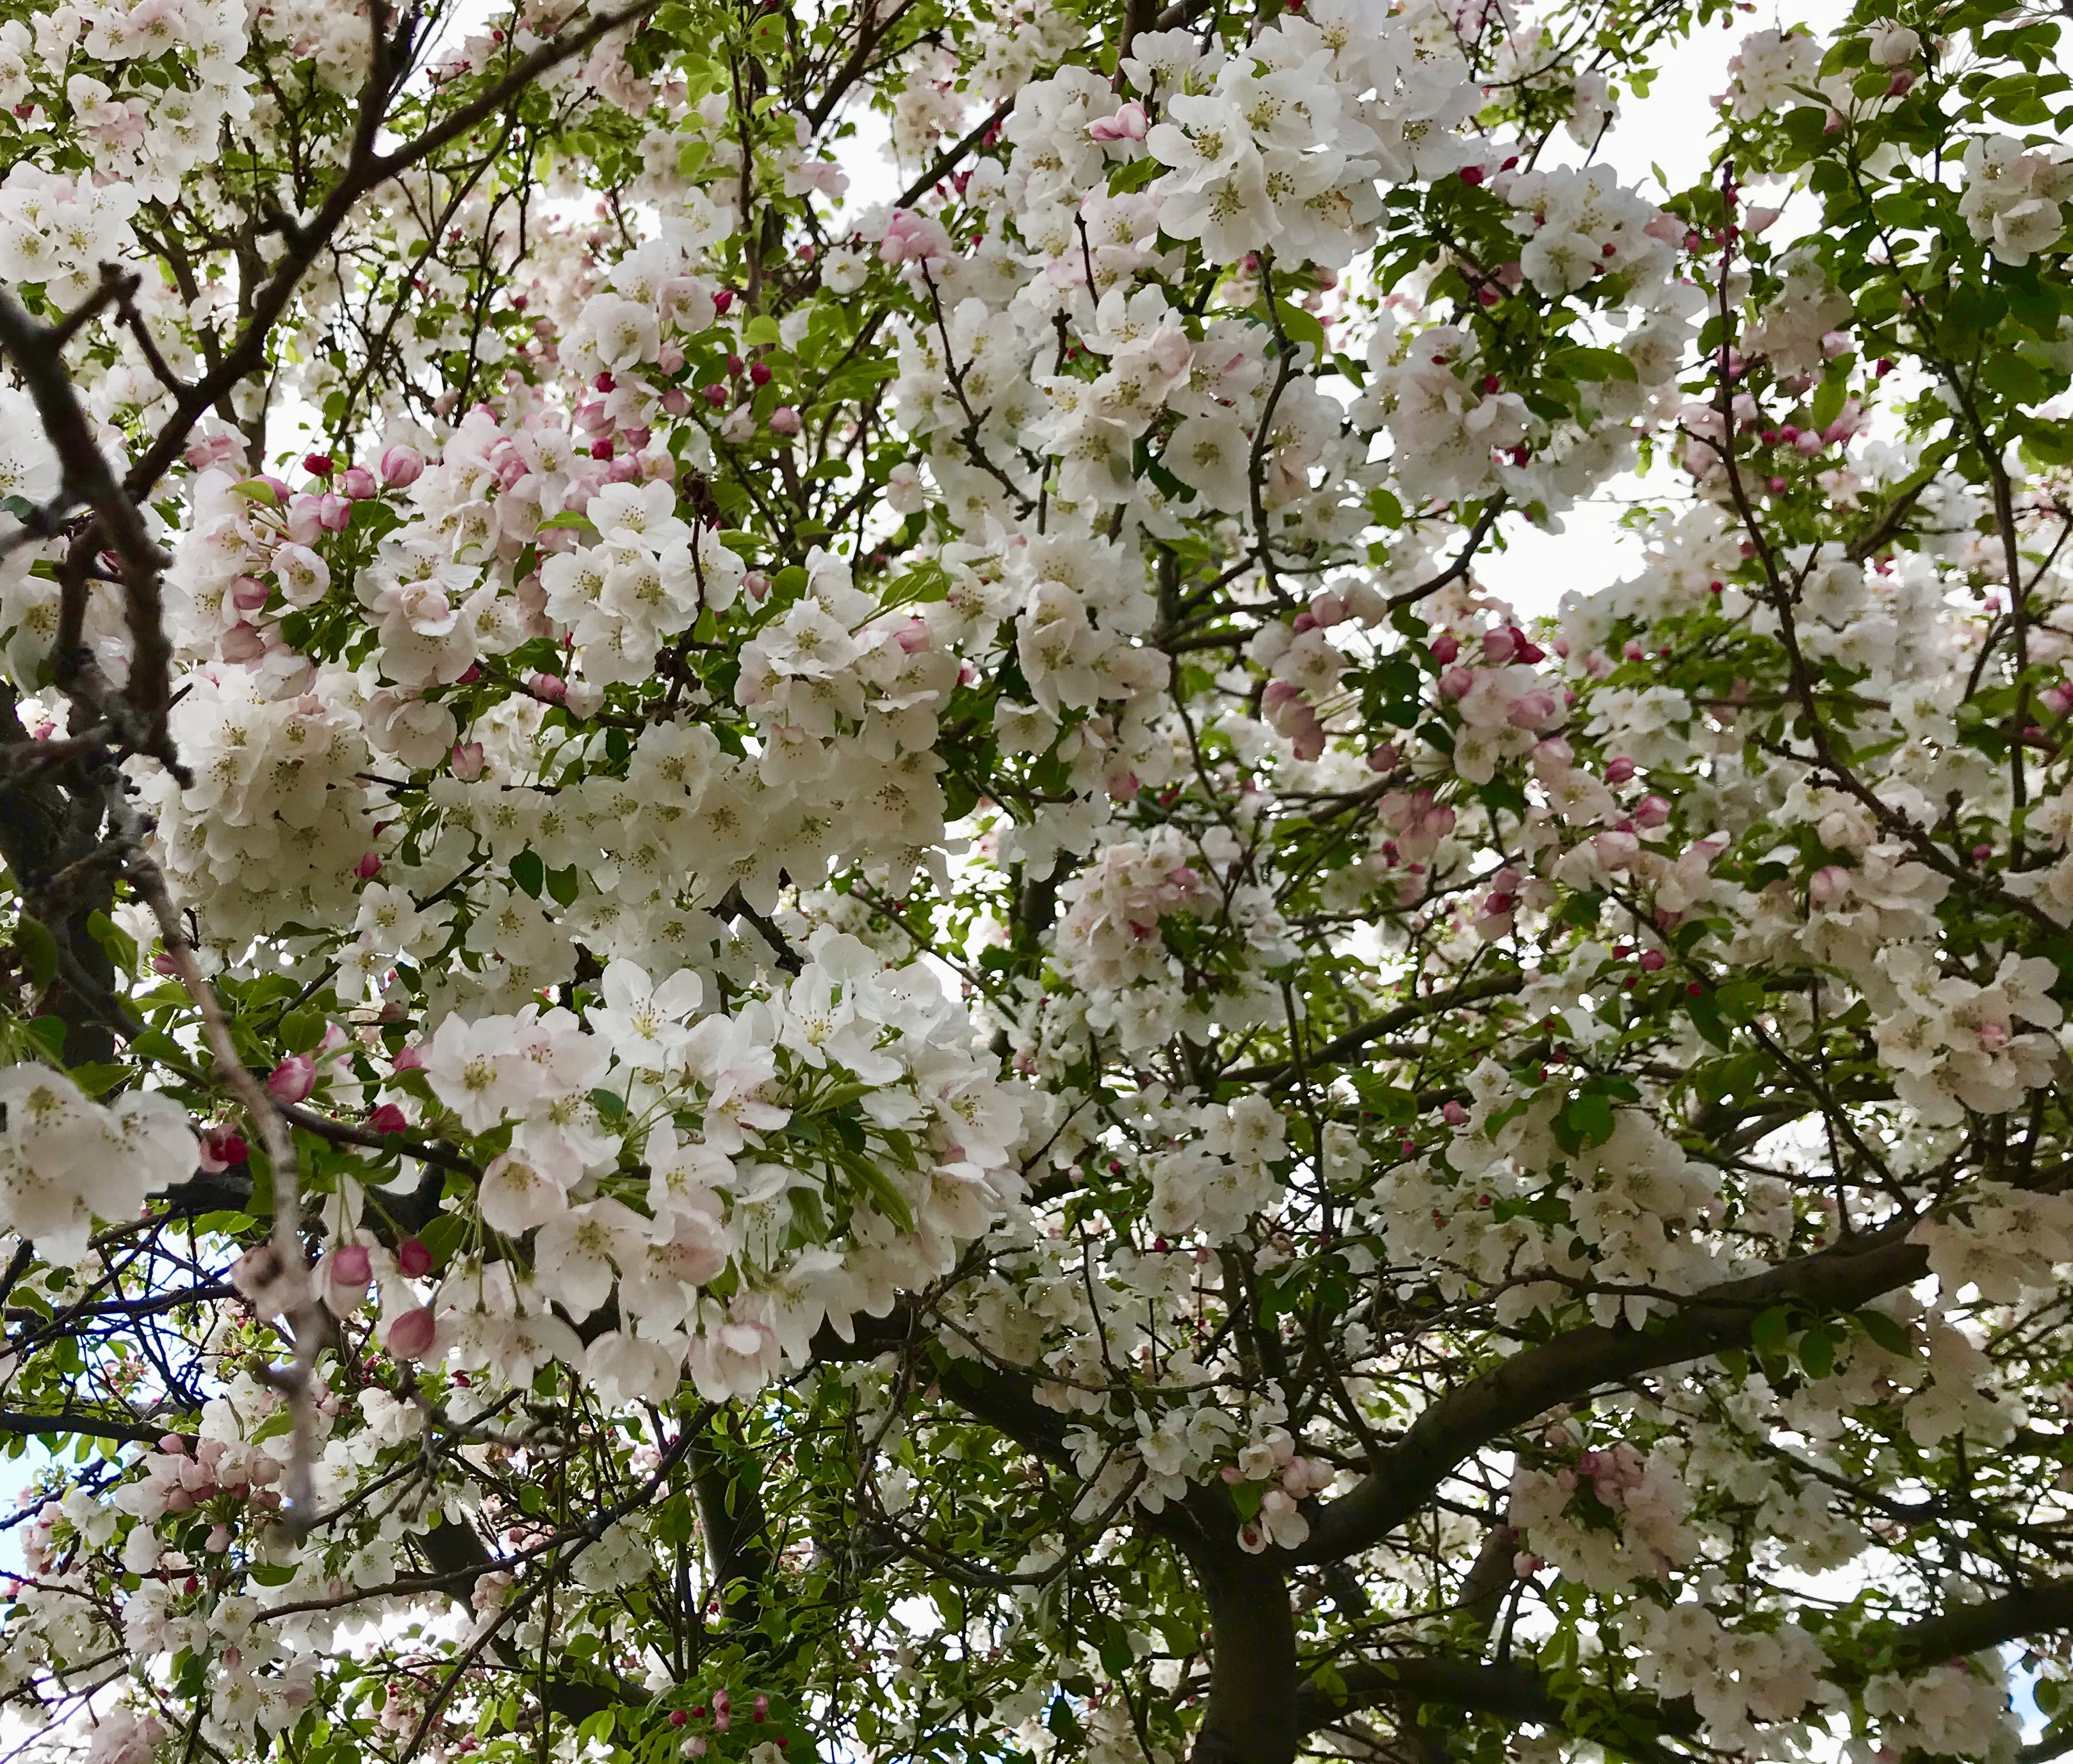
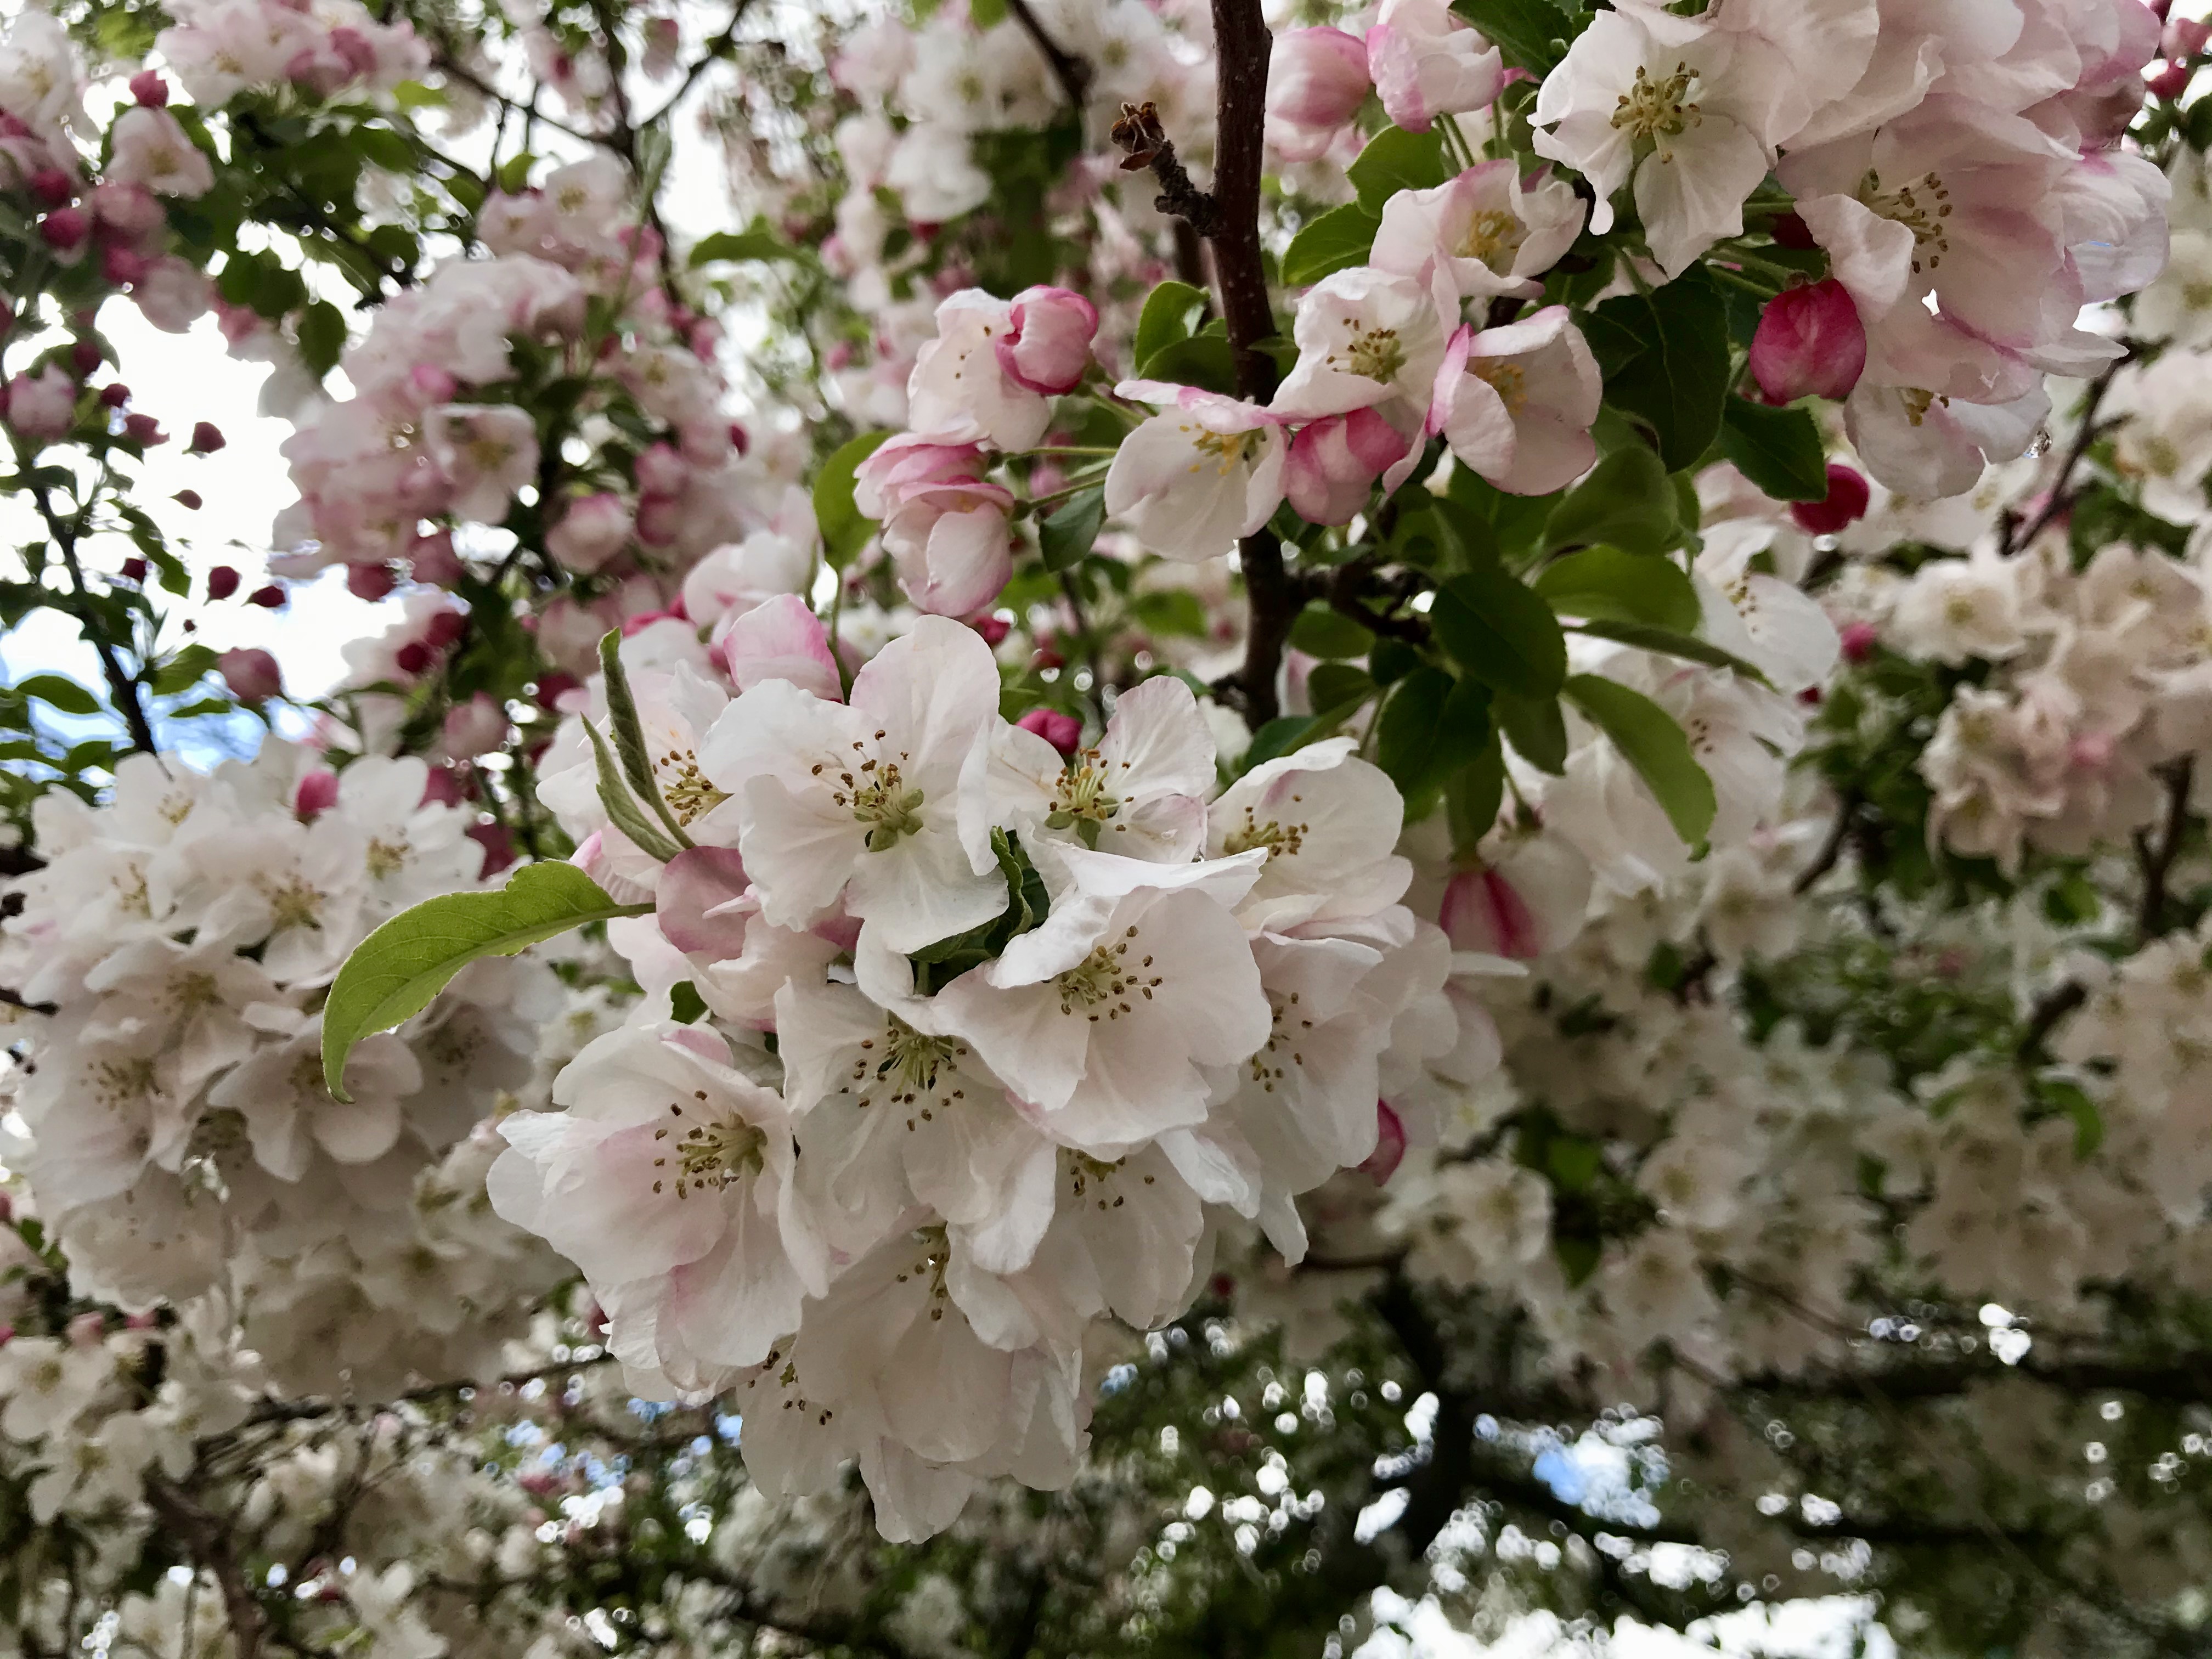
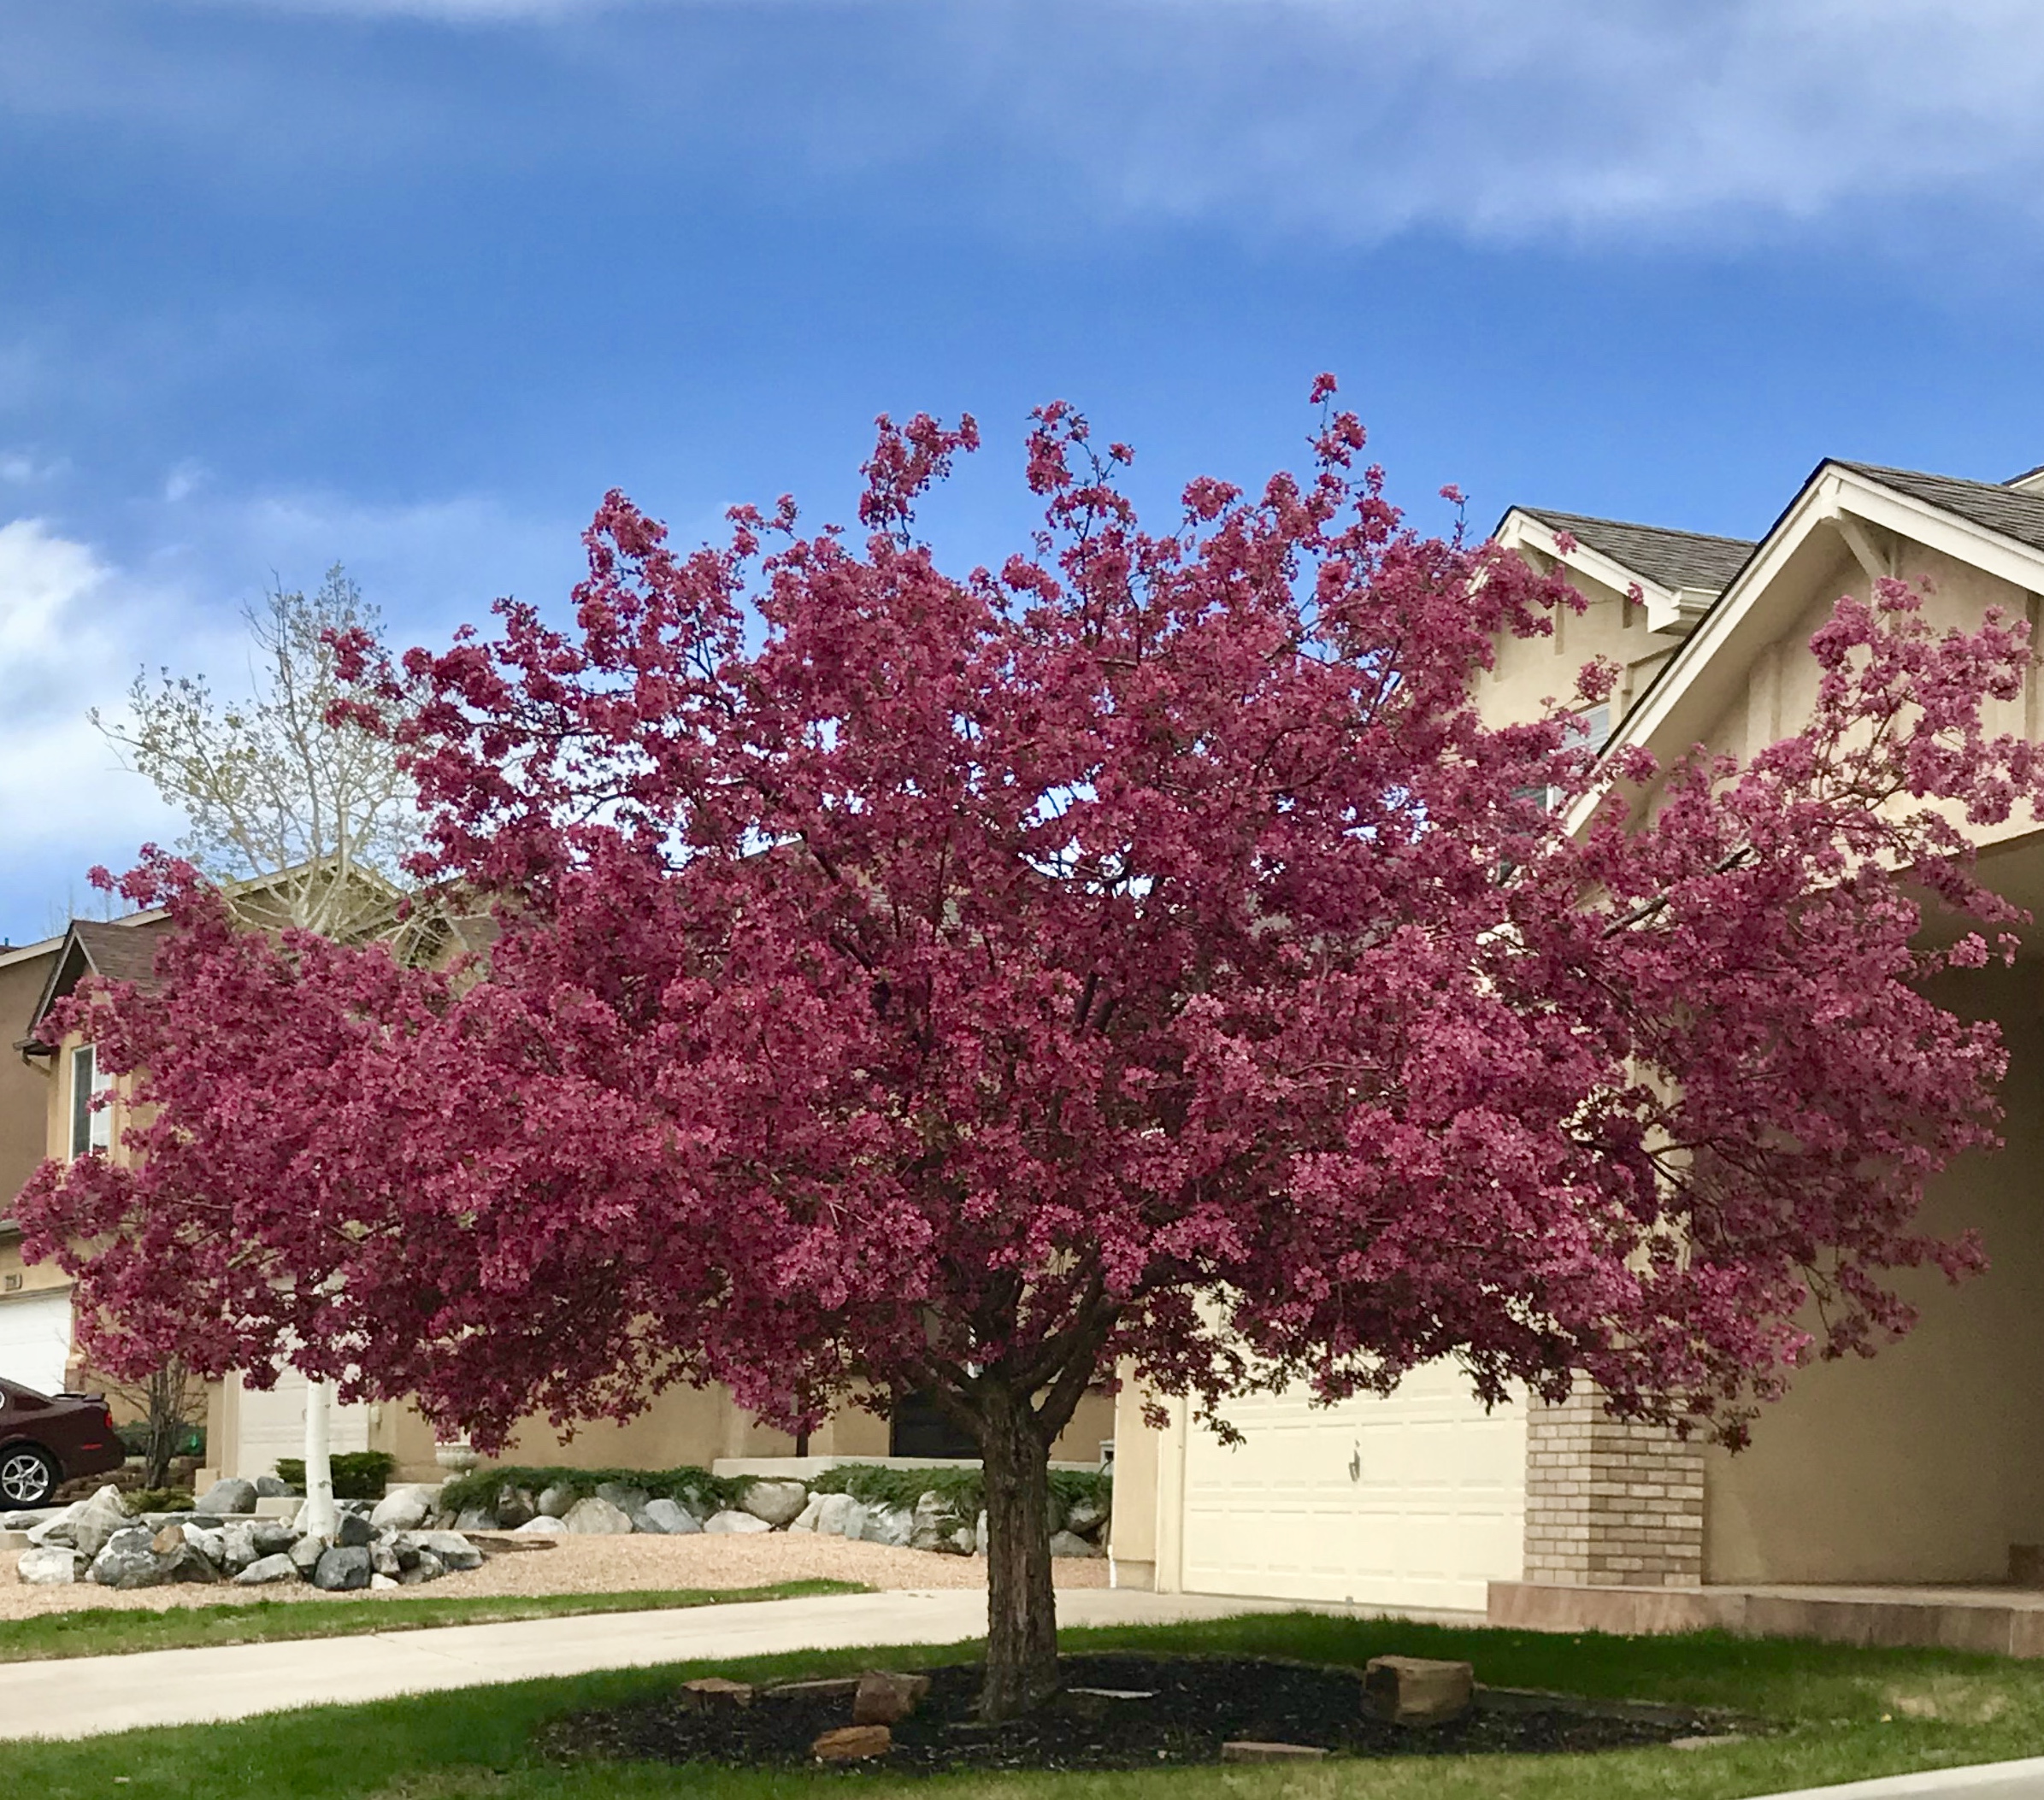
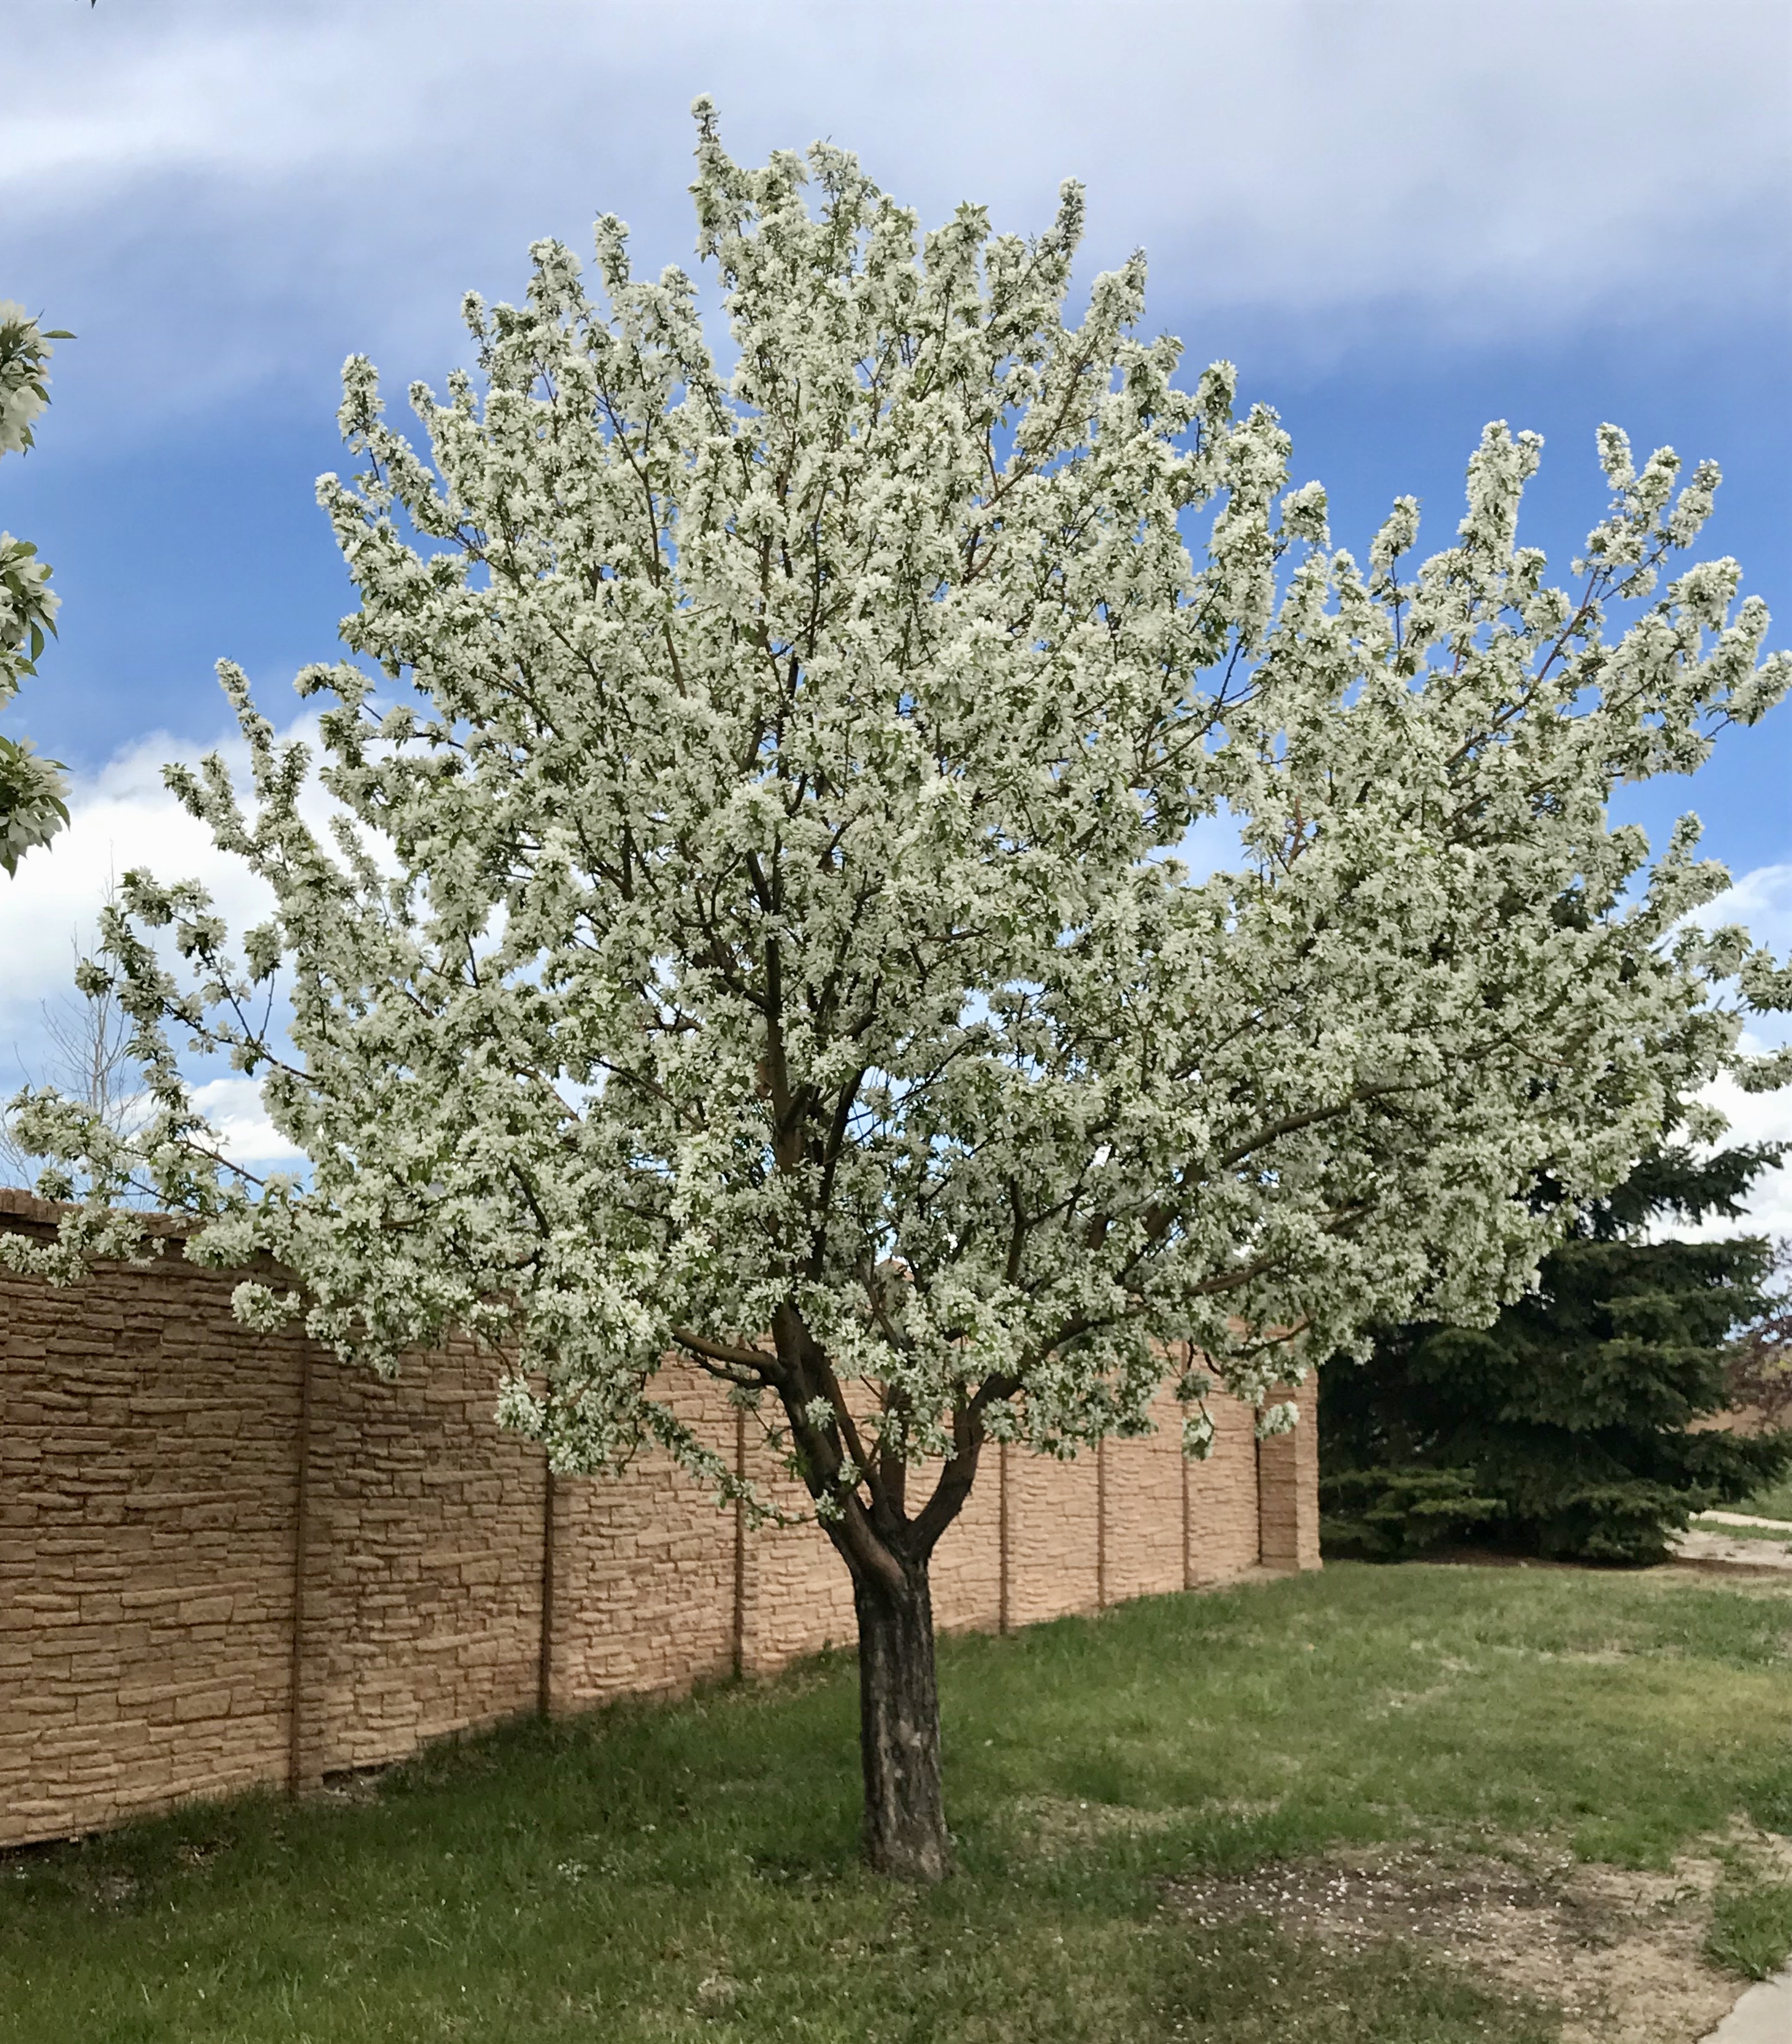
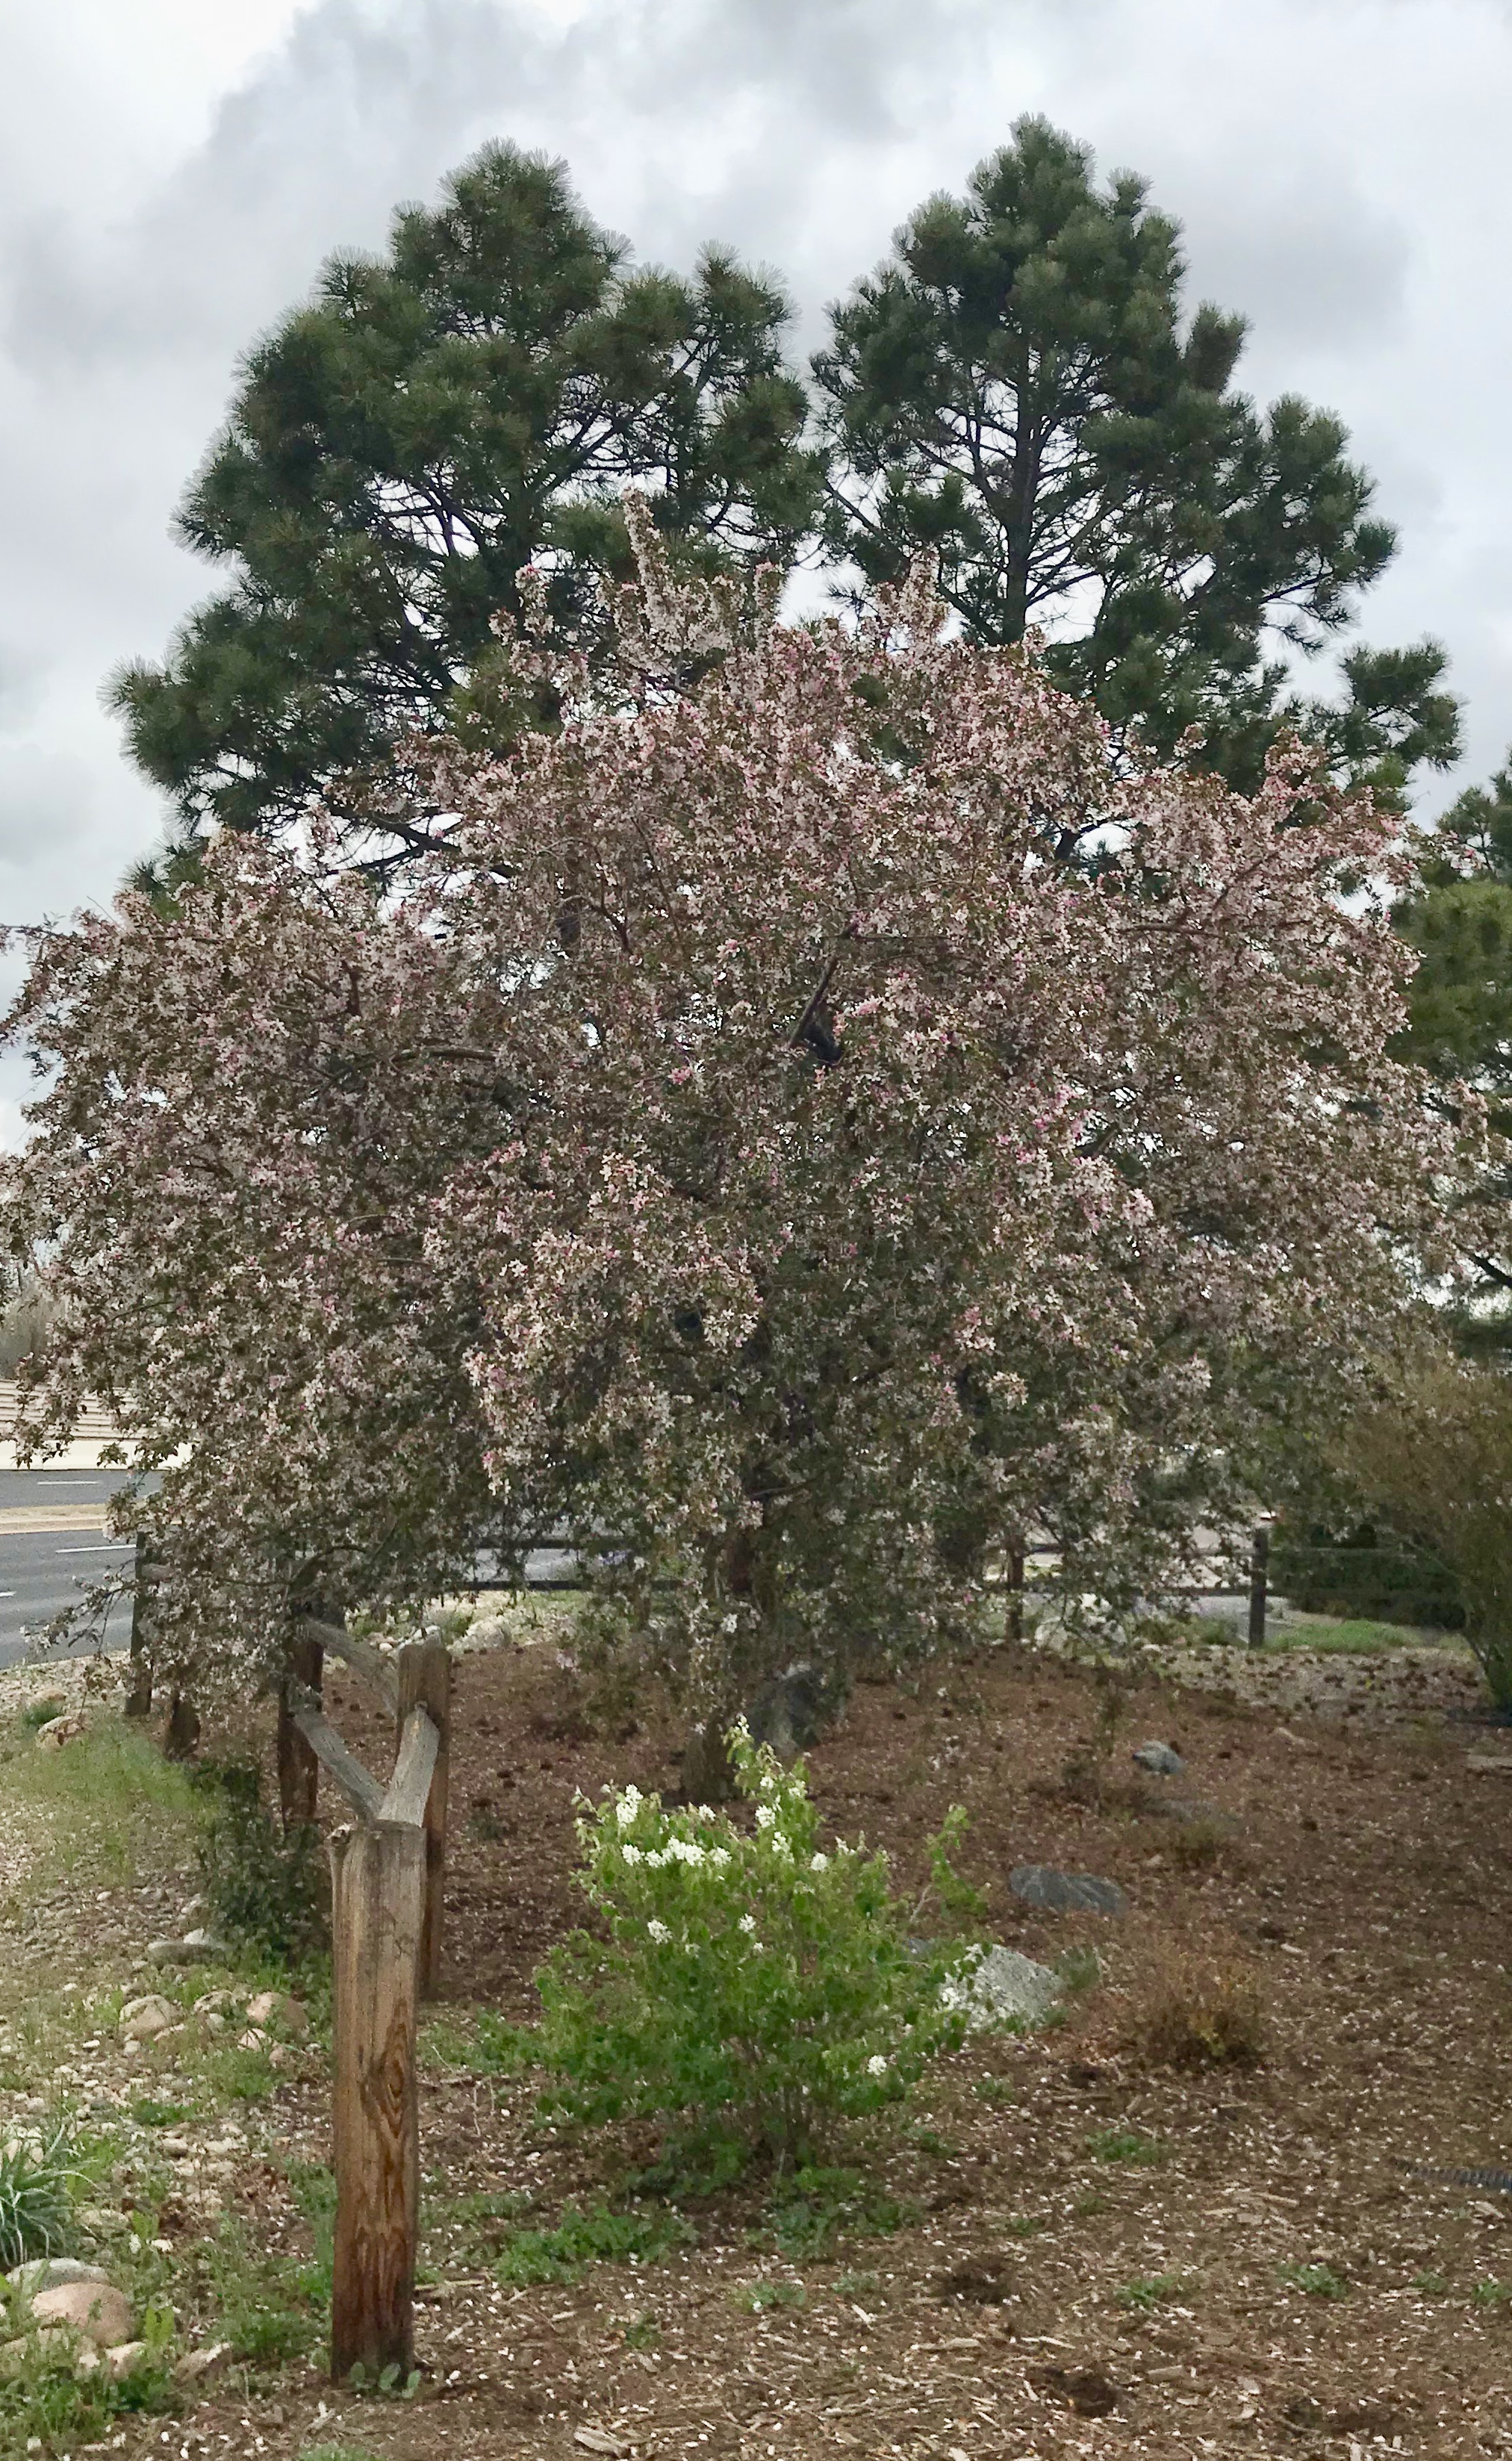
This year no hard freezes to kill the crabapple blossoms. They have been gorgeous this year and now the lilacs are in full bloom. Here are some neighborhood crabapples.
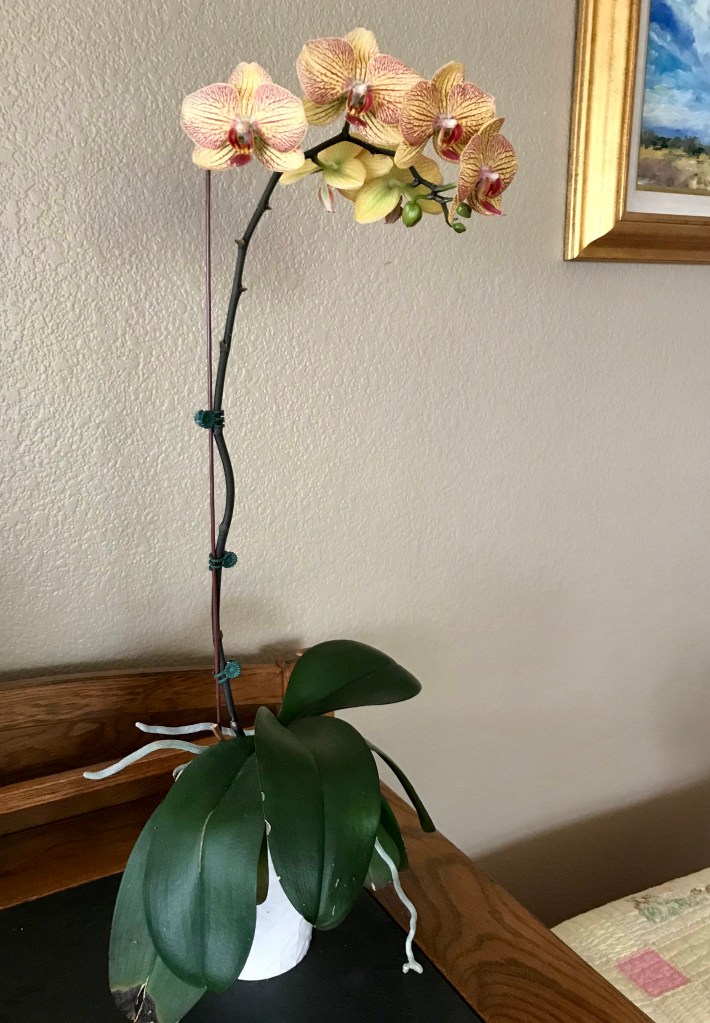
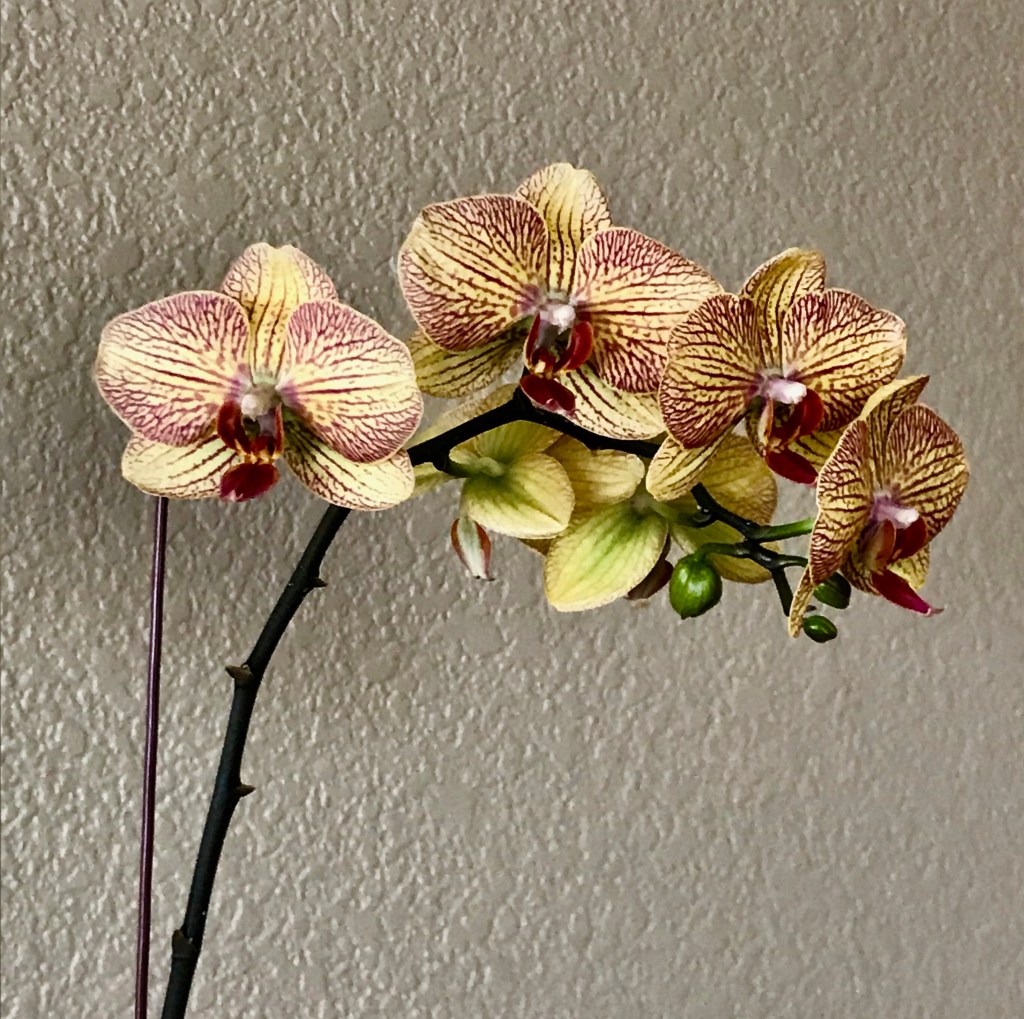
Last year I bought a Phalaenopsis aka Moth Orchid for Al as an anniversary gift on January 18. It had two bloom stems and was still blooming in May. I figured I would kill it as usual, but had attended an orchid care class and decided to give it a go.
After it finished blooming I moved it to bright indirect light and followed the instructions that came with the plant to give it 8 ounces of water once a week. I also bought some orchid fertilizer which was pelleted slow release and fed it. It continued to look healthy and put out some new leaves. Aaannnnd — in January 2021 it started putting up a bloom spike. It is still blooming today. This rebloom is my first success with an orchid, so I am a very happy camper.
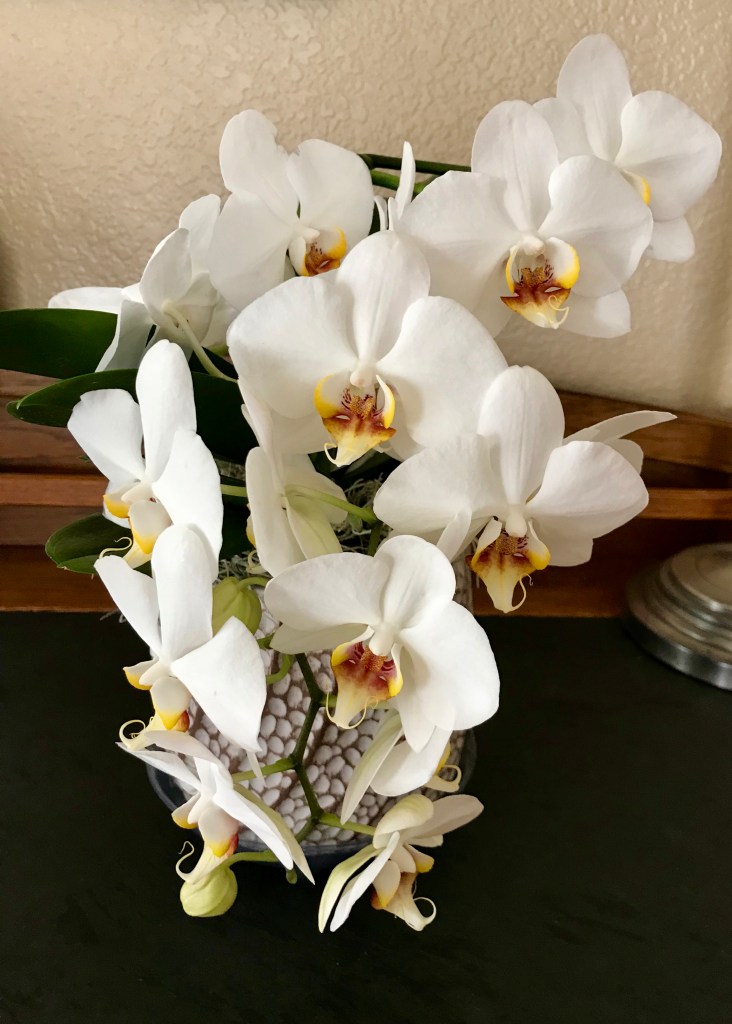
So happy in fact, I bought another one last week. This beauty is white with a yellow and brown column and lip. I love the color contrast.
The trick for me was to not overwater and provide bright indirect light. My next challenge will be to repot our “Anniversary Orchid”. I hope to see both these orchids rebloom with more and more bloom spikes for us year after year.
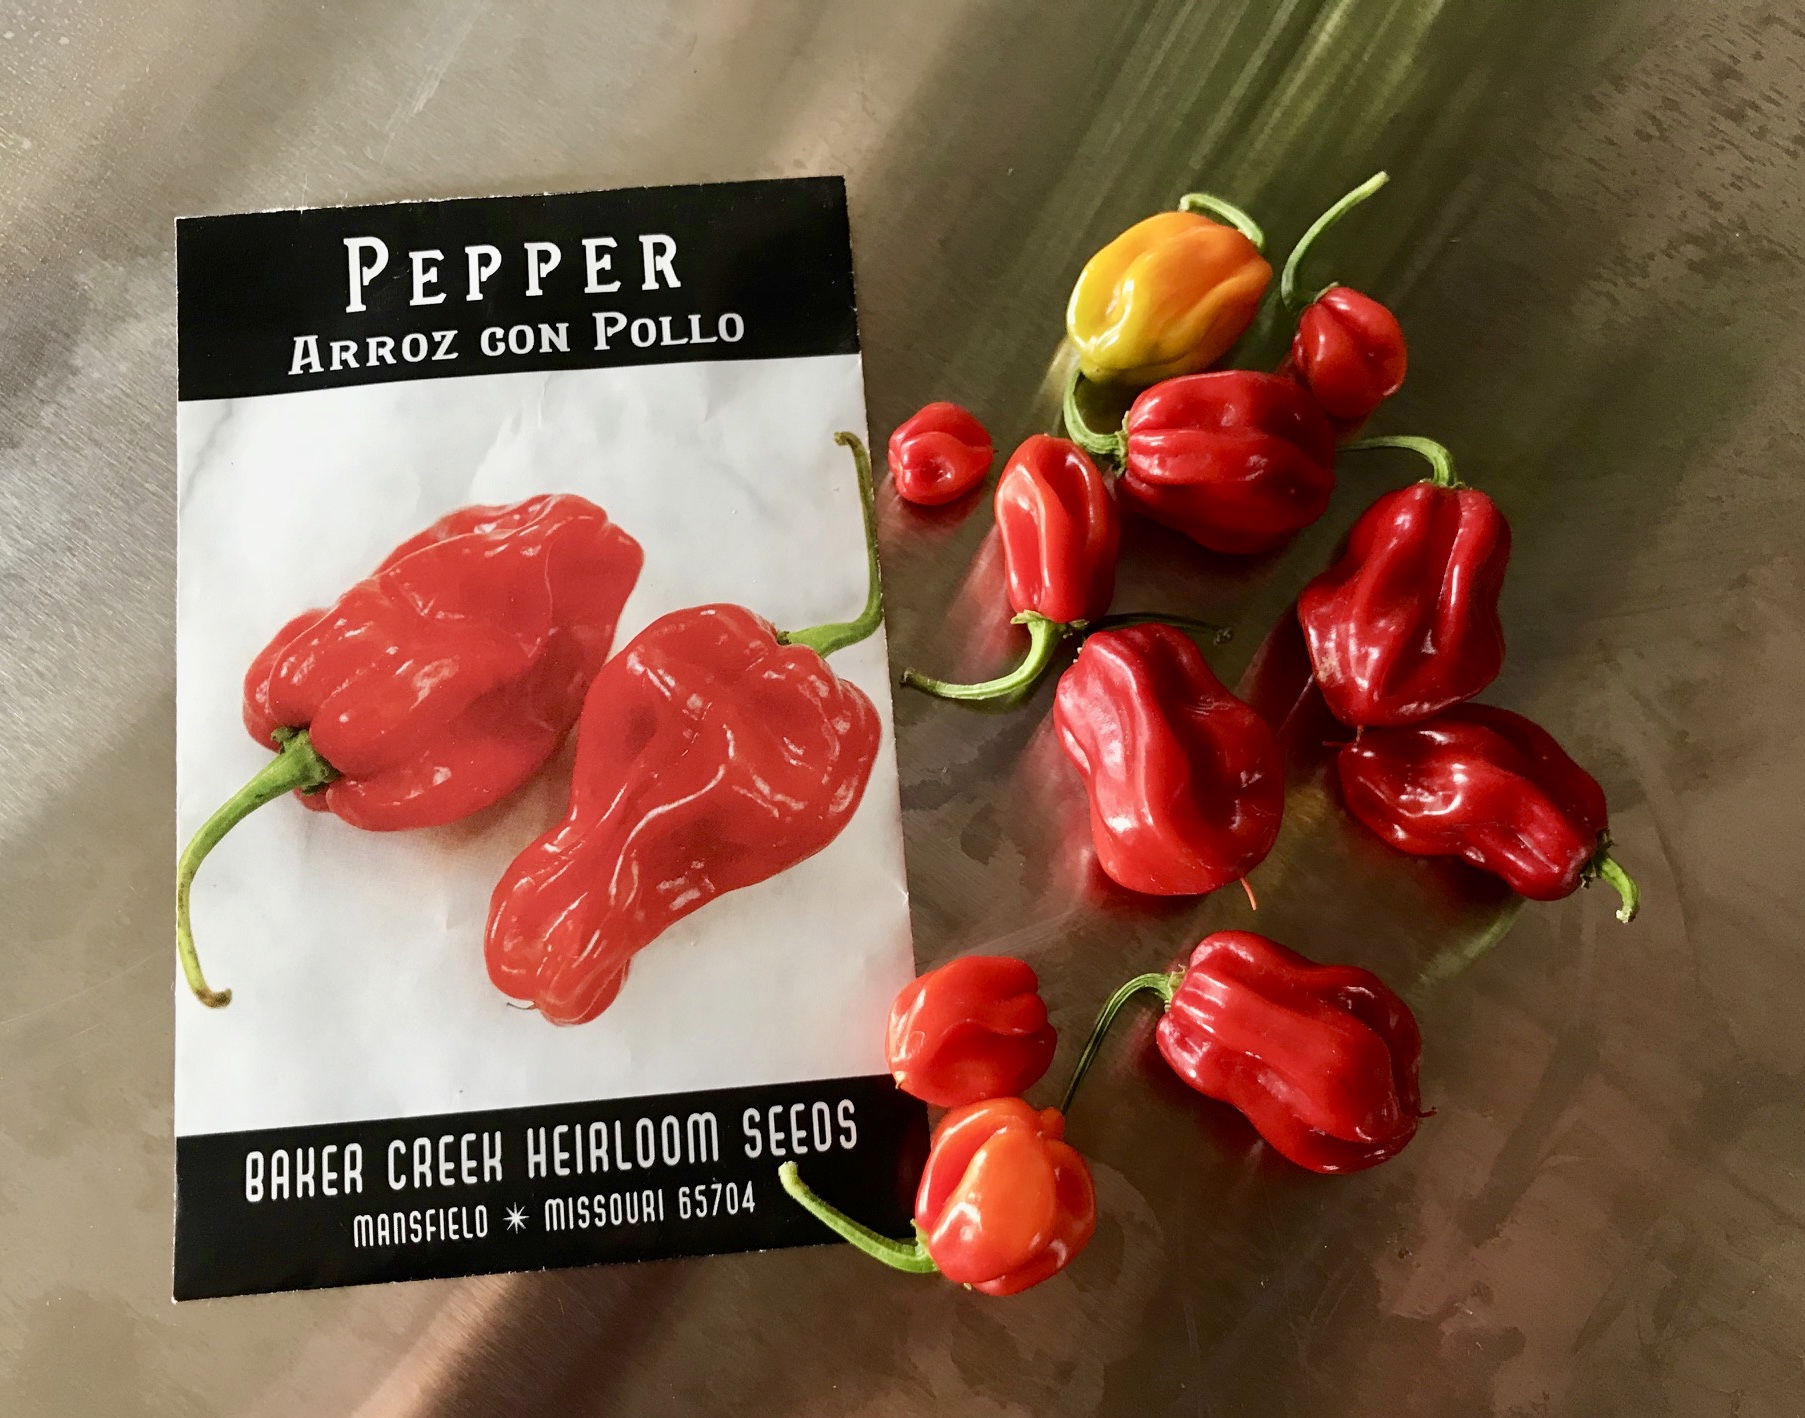
Earlier this year I posted about two peppers I was growing that were supposed to taste like Habaneros without the heat.
Gardening season ended here in mid-October. I did have success with one of the peppers that was supposed to taste like a mild habanero — the Arroz con Pollo. Unfortunately, the Habanada had just started blooming when the frost occurred. I didn’t do my research and I find this pepper has 100 days to maturity, a real stretch for Colorado Springs. However, I am bringing the container in and out to protect it from freezing so hopefully I will get a few to taste. Evidently pepper plants are not day length sensitive, however they may drop blossoms if temperatures go below 60F and above 90F.
But onto the success story of the Arroz Con Pollo. These are small bright red peppers when ripe which are very pretty as well as very tasty, and only tiny bit hot if you leave the seeds in. Seed them and the heat is gone. The flavor is definitely pepper with overtones of citrus which gives them a delicious fruity quality. But do they taste like a habanero? I think the habanero has a more floral fruity flavor and less pepper before the heat hits.
The Arroz con Pollo bush was very decorative with the bright peppers contrasting against the green leaves. I will definitely be planting a lot of these peppers next season and will be working to get some ripe habandas by starting them earlier under grow lights.